|
| Micro 110 camera with reloaded 110 cartridge |
Having previously used the
Micro 110 camera two years ago for the
#shittycamerachallenge in June 2018, when the current three-month June to August 'Quarantine Special' challange was announced, I thought I'd revisit the camera. Choosing the Micro 110 was partly due to the camera fitting the ethos of the challenge, and also as it is eminently portable. However, due to being busy with work during this period I didn't embrace the current #shittycamerachallenge as enthusiastically as I might (I had initially thought I might choose a different camera for each of the three months of the challenge, but in the event I shot most of the photos in June, then as July came around I still had a part-used cartridge in the camera, which I thought I should finish, and having loaded one more cartridge, I used that for the rest of the month into the start of August). I used 110 cartridges reloaded with 16mm Kodak Photo Instrumentation film throughout, rather than use different film stocks, and, being double perforated, the sprocket holes show up prominently in all the images.
 |
| Micro 110 with Kodak Photo Instrumentation Film |
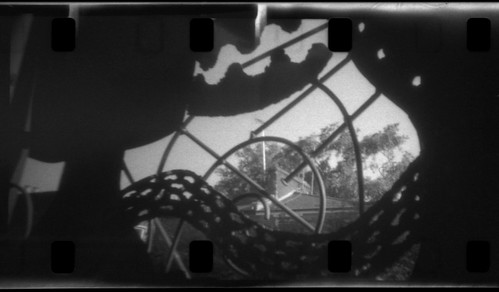
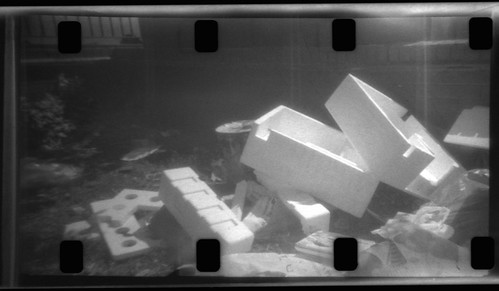
I developed the film I shot in two batches, and based on the results from the first couple of rolls once developed, I made a few changes: the initial rolls had a lot of light leaks, partly solved by using more black tape, particularly on either side of the cartridges where it met the camera body, and shielding the camera from light more carefully when advancing the film (in the image at the top of this post, there is a rubber band around one side of the cartridge, intended to block the light where the camera body meets the cartridge, but this wasn't sufficient).
 |
| Micro 110 with Kodak Photo Instrumentation Film, showing light leaks |
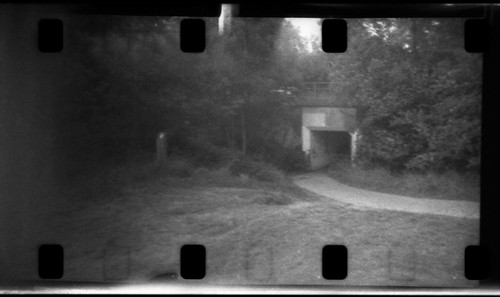
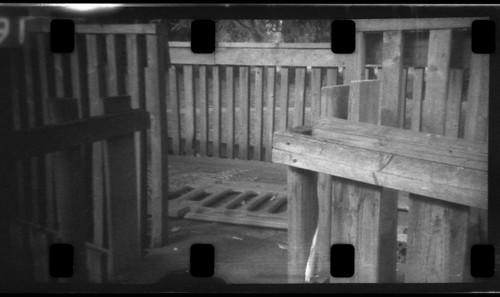
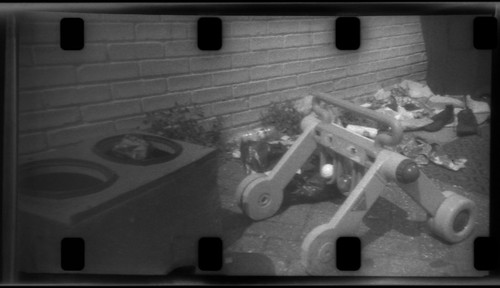
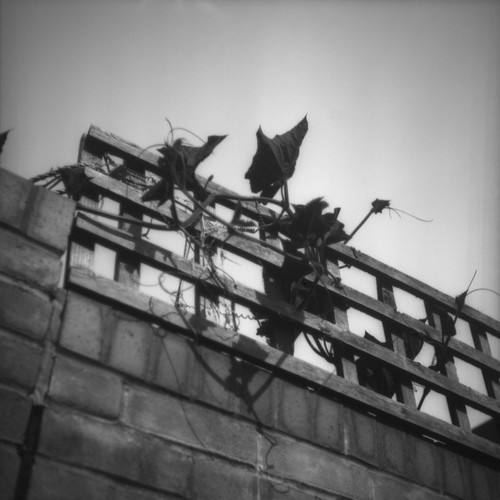
I also changed how I was framing the photographs, realising that with the small aperture and short focal length, the camera does give a reasonable depth of focus (at least in relative terms, given the limitations of the lens), and in the second batch of photographs, I looked for compositions in which subjects were closer to the lens; the camera is hardly designed for wide expansive views. I was also more conscious that with using reloaded cartridges, without the pre-exposed frame that 110 film usually imposes, the frame is much wider than the rudimentary viewfinder indicates, albeit with a pronounced fall-off towards the left-hand of the frame. I did utilise this to effect in the one shot in vertical format, below, which gets darker to the foreground, but would have been more better without the light leaks.
 |
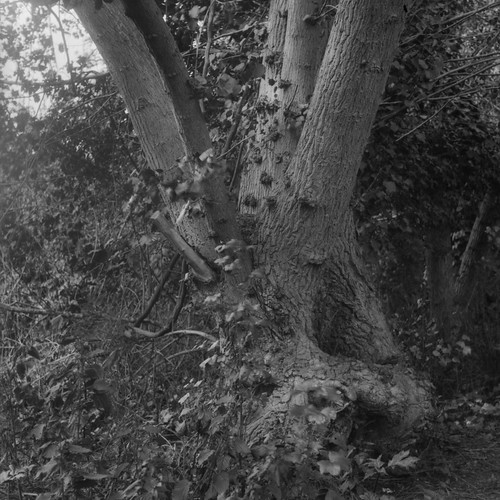
| Micro 110 with Kodak Photo Instrumentation Film |
Thinking about the #shittycamerachallenge, and using the Micro 110 these past three months, although the camera is clearly so cheap and basic, perhaps it isn't truly 'shitty'; perhaps what really makes for the spirit of the challenge is a camera with at least some pretensions, but one that falls far short. I did think that the
Halina 35X embodies this, in that there was an intention in its design to make an inexpensive 35mm camera with all the features one might require in such a camera, but done badly. However, I no longer have the Halina 35X; the Micro 110 by contrast is nothing other than the cheap plastic novelty that it so clearly
is.