Showing posts with label Worldwide Pinhole Photography Day. Show all posts

Sunday, 3 May 2020

Worldwide Pinhole Photography Day 2020

Paper negative on Adox MCP 310 RC paper, inverted and flipped in Photoshop
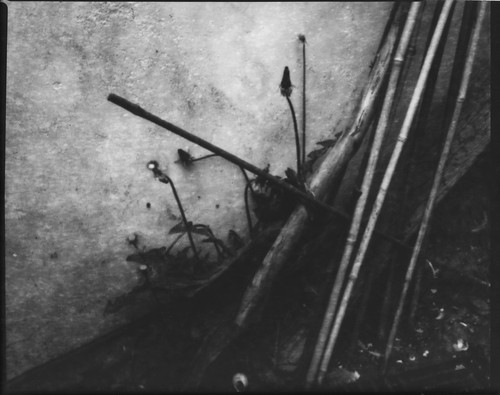
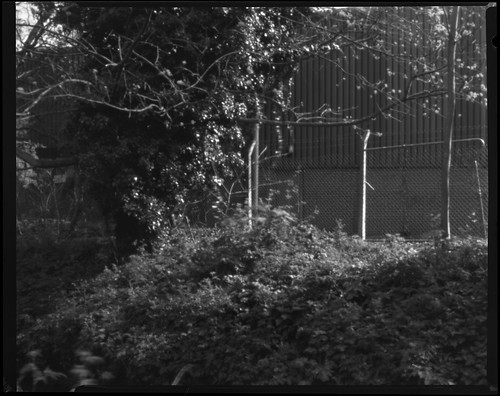
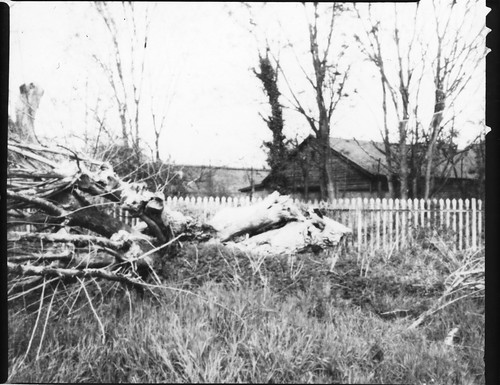
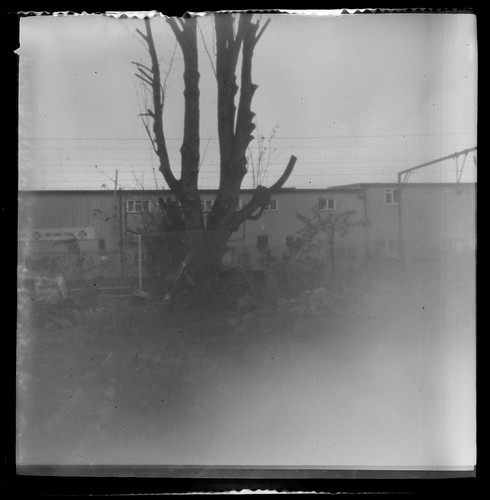
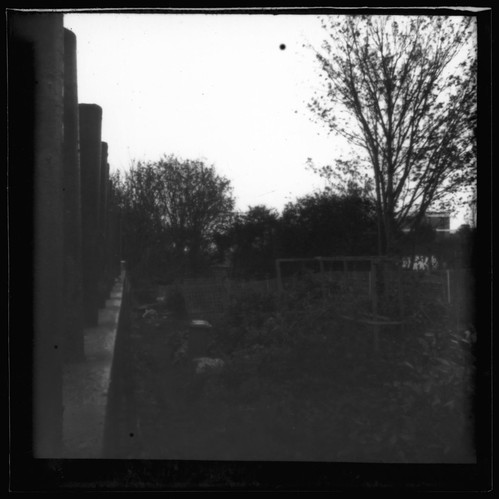
Last Sunday was Worldwide Pinhole Photography Day. Being unable to go out to take photographs as in other years (although carrying around a large format camera, tripod and film holders could arguably be defined as exercise), I did want to mark the day and made four exposures in the garden using the MPP Micro-Technical Mk VIII camera with the 0.3mm pinhole lensboard I'd made for it. As the camera's focus moves the lensboard, the focal length can be changed: in the past I've shot pinhole photographs at a 'normal' angle of view for the 4x5 inch large format; here, I used approximately 100mm for the focal length, moderately wide. At longer focal lengths, exposure times start to get frustratingly long; the four photographs were taken successively over about an hour.

Having been working with paper negatives recently, I thought that I'd shoot a negative and a positive on photographic paper rather than use film or plates as on other years. The negative was shot on Adox MCP 310 RC paper, which I've used for some of the recent paper negatives and which, for variable contrast paper, has a certain amount of latitude. I did flash this to reduce contrast further, and used a light green filter.  I rated the paper at an exposure index of 12, and doubled the exposure time for the filter factor. Shooting on variable contrast paper, green is useful as a minus-magenta filter: the high contrast layer(s) in the paper are sensitive towards magenta. This seems to make sense to me; a similar result could probably be achieved by using a low-number Multigrade filter when shooting. The subject, raspberry canes, were lit with sun coming through the leaves of a tree, so this made for high-contrast subject to begin with. The positive was shot on Harman Direct Positive Paper. This is around ten years old, and the result wasn't as good as I had hoped. I rated this at 6, and flashed the paper. The highlights look overexposed, but the paper hasn't developed anywhere near dark enough. The shadows are all a mid grey, and there's the kind of texture running through it that one sometimes get when backing paper reacts with the emulsion on medium format film. The Harman Direct Positive Paper hasn't been stored with any care since I bought it a decade ago, so this might not be surprising, but I have had good results with other kinds of photographic papers of much older vintages. The image at the top of the post is the inverted paper negative, which worked well enough on its own.

Harman Direct Positive RC paper
Paper negative on Adox MCP 310 RC paper
I developed the paper in Ilford Multigrade paper developer diluted 1+20; the dilution of the developer doesn't seem to affect the contrast that much, but diluting it further than usual does make it easier to control the degree of development as it extends the time, although both papers in this case were left to develop to completion. This may not have helped the Harman Direct Positive Paper, but this doesn't explain the texture. I also shot two sheets of Rollei ATO 2.1 Supergraphic film, one of which was fogged, and developed these at the same time in the same paper developer; the negatives are high contrast, as one might expect. Currently without access to scanning for large format negatives, I made a contact print on Silverprint Solar Print paper - a form of ready-sensitised cyanotype paper, for which the contrast of the negative worked well.

Rollei ATO 2.1 Supergraphic film contact print on Solar Print paper

Monday, 29 April 2019

Worldwide Pinhole Photography Day 2019

Flights of Fancy pinhole camera with variable contrast paper
A couple of weeks prior to yesterday's Worldwide Pinhole Photography Day, I was given a Flights of Fancy pinhole photography kit, as well as an already constructed camera, which must have come from a second kit. The box itself contains everything necessary to build the camera and shoot and develop paper negatives: six sides of fibreboard that slot together to make the camera, a cover for the pinhole, a cardboard insert that the user pierces for the pinhole and which also holds the photographic paper, included, against the back of the camera for exposure. The kit contains three plastic trays, tongs, developer, fix, red gel to make a safelight and a booklet with a potted history of photography and full instructions. Although it's possible to use the camera simply held together with rubber bands, the constructed one had been glued. For the photographs, I used an already opened packet of 3x3-inch variable contrast paper which must have come with the kit of the already-constructed camera.

Flights of Fancy pinhole photography kit
I hadn't made any tests before using the camera yesterday; I also did not measure the pinhole to ascertain its f-stop, and simply made exposures based on the guidelines in the instruction booklet; the weather was mostly overcast and the recommendations given were for 60 seconds 'overcast', or two minutes for 'dull daylight'. Rather than use the trays and chemicals provided (the developer bottle rattled when shaken, indicating that some of the chemical constituents had crystallised), I stand developed the paper in Ilfotec LC29 diluted 1+100, for one hour. The instructions with the kit suggest making contact prints on the paper provided; I scanned the paper negatives instead, and these scans were inverted with Photoshop to create positives.

Flights of Fancy pinhole camera with variable contrast paper
For a beginner, within its limitations, the Flights of Fancy pinhole kit might be a worthwhile introduction to pinhole photography. Although the exposures I'd estimated were not all that accurate,  I've posted the images here as I was following the guidelines provided with the kit, rather than relying on experience, partly to test the instructions. I can also envision a few ways in which the kit could also be modified - a metal pinhole rather than black card, better seals to prevent light leaks, and a tripod fitting, for example (I rested the camera on any flat surface available during exposure, and the rubber band, around the whole body to keep the top secure meant that it did not sit entirely flat, leading to the camera shake seen in the second to last image above).

MPP Micro-Technical camera with Ilford HP5 Plus
However, needing to unload and reload the Flights of Fancy box camera in a changing bag for each shot meant that I only exposed four sheets of paper with it over the course of the day; I also used a pinhole lensboard on my MPP Micro-Technical Mark VIII to shoot some paper negatives and a roll of medium format Ilford HP5 Plus. With HP5 Plus, the exposures were metered and measured out in seconds rather than minutes, the paper needed considerably longer. The weather was mostly overcast, with some very brief sunshine, at the tail end of a storm that had passed over the UK; for some shots I was concerned about wind shaking the tripod, although the softness of the pinhole images probably disguises this more than adequately.

MPP Micro-Technical camera with grade 2 Ilfospeed paper
For the paper negatives with the MPP, I used a home-made 9x12cm-to-4x5 inch adaptor; I had originally made this to use the Rada rollfilm back on the MPP with a 6x6 mask, but 9x12cm plate would also fit. Shooting long exposures outside showed that this was not especially light-tight when the darkslides of the holders were removed, and some of the paper negatives were spoiled with light leaks, present on the two images shown here to a greater or lesser degree. The paper I used for these was from an old box of grade 2 Ilfospeed resin coated paper which has a label dating to 1977; I also flashed the paper in the darkroom. As with the Flights of Fancy camera, the 9x12cm paper negatives were stand developed in Ilfotec LC29 diluted 1+100, for one hour, as a means to reduce contrast further.

MPP Micro-Technical camera with grade 2 Ilfospeed paper
In the past when using a pinhole with the MPP Micro-Technical camera, I have tended to position the lensboard at a 'normal' focal length (150mm-180mm); when shooting yesterday, I used 50mm-75mm, partly to facilitate shorter exposure times. Although both the 9x12cm paper negatives and the rollfilm represented some cropping on the 4x5-inch format, the 6x9cm frames of the latter considerably so, at these focal lengths, all the shots could firmly be defined as wide angle. I very rarely use wide angle lenses in any format, and I did find it hard to compose the shots with this in mind; however, with the relatively short exposures provided by using HP5 Plus - in comparison to the paper negatives - that the skies have relatively good definition (which in retrospect could have been improved using a yellow filter with little effect on exposure times) almost certainly adds structurally to what the compositions are lacking in the subject matter, the one exception from these considerations being the shot, immediately below, of a tree, where the wide angle emphasises the splaying of both roots and branches.

MPP Micro-Technical camera with Ilford HP5 Plus

Monday, 17 April 2017

Pinhole and The Art of Invention

To coincide with this year's Worldwide Pinhole Photography Day (on Sunday April 30th), I will be exhibiting in Pinhole and The Art of Invention. Curated by Anthony Carr, and is part of the London Pinhole Festival, an annual photography festival dedicated to pinhole photography. The main London Pinhole Festival exhibition will be held at the Four Corners Gallery. For more info on the festival visit the LPF Facebook event page.

Timelapse Pinhole Camera Mechanism Mark V by Anthony Carr
Pinhole and The Art of Invention celebrates the art of invention and the inventiveness of artists by including photographers who build homemade cameras and mechanisms to serve a specific purpose. These innovative apparatuses will take centre stage and be given the limelight their ingeniousness deserves. Just for a change this exhibition champions the cameras behind the images.

Exhibitors 
Daniel Berrange
Anthony Carr
Andrew Chisholm
Nicholas Middleton
Howard Moiser
Emma Simpson

The exhibition opens to the public on Friday 28th April (6.30-8.30pm). The show continues until Saturday 20th May.
Monty's Gallery is at 45 Exmouth Market London EC1R 4QL (located in the basement of Barber Streisand).
Open 11am-8pm Monday-Friday, 11am-6pm Saturday and 11am-5pm Sunday.


Saturday, 31 December 2016

Photographic Objects

"A forward-thinking young man"
For my last post of the year, I wanted to reflect on some work that I exhibited during 2016; I have only very rarely exhibited photography (other than online) but this year I made a number of 'photographic objects' for exhibitions to which I was invited to contribute. As these were all created with chemical photography, the work falls under the remit of this blog.

Invited to contribute to the exhibition Art:Science:Life by Dr Lucy Lyons at the Ipswich Art School Gallery, the brief was to respond to an object in the adjacent Ipswich Museum's collection, and make a piece of work which could take the original object's place in the museum, while the object itself would be displayed in the art gallery next door, along with the information about the artwork, under the banner of 'Curated Responses', alongside a number of other invited artists.

Curated Responses
I chose the two aircraft recognition sheets from the Ipswich at War gallery in the museum. These were printed on some form of translucent material, which provided the initial inspiration to form my response. A number of years ago, I had read H.G. Wells' novel The War In The Air and was struck by its prescient qualities. My first thoughts were to use this, the book itself, as an object to make a painting, but on reflection, a much more apposite approach was to echo the material qualities of the objects I had chosen. To this end, I used Kodak High-Resolution Aerial Duplicating film to make contact prints of the cover and colophon of my paperback of the novel: not only did the film have a similar look to the aircraft recognition sheets, it was also manufactured to duplicate aerial reconnaissance photographs. Asked to write a statement for the 'Curated Responses' room, I provided the following:
H.G. Wells' novel The War In The Air was first serialised in 1908. Written before Louis Bleriot's successful cross-channel flight, it imagines a war in the near future in which flying machines are decisive; the use of aircraft in the two World Wars, renders aspects of Wells' speculative future prophetic. Taking the cover and the title page (with the reverse showing the original publication date) from a paperback edition of Wells’ book, I made contact prints on Kodak High Resolution Aerial Duplicating film. This high contrast film is designed to make positive and negative duplicates from high resolution aerial photographic negatives; its transparent qualities mimic the aircraft recognition sheets from the Second World War that Wells would live to see.

"A forward-thinking young man"
I called the piece "A forward-thinking young man" from a quote in the book about the protagonist that could equally be applied to Wells himself.

At the Doomed Gallery in Dalston, for the London Pinhole Festival in April to coincide with Worldwide Pinhole Photography Day 2016, I showed a small set of pinhole images, shot two years earlier, presented as positives on glass, appropriate as the original negatives were made with glass plates.

“Talking about pinhole photography with security guards in the park”

I titled the piece, “Talking about pinhole photography with security guards in the park” to relate it directly to my experiences of taking the photographs, rather than what they might show. The work was accompanied by a statement which read:

Related to an ongoing series of photographs using previously unexposed vintage photographic glass plates, for 'Worldwide Pinhole Photography Day' in 2014, I shot a number of photographs using homemade pinhole cameras around the London 2012 Olympic Park. The photographic plates used in the pinhole cameras were Ilford Special Lantern plates, designed to make glass slides for projection, coated in 1965. These were developed as negatives and then contact printed on Ilford N.50 Thin Film Half Tone plates (from 1957) to create positive transparencies on glass for display. The title is a reference to the photographer’s aberrant behaviour and its being outside the sphere of reference of those in authority.

For the positives, created simply by contact printing the original pinhole glass negatives, I used orthochromatic plates so I could work under red lights and develop by inspection. As the physical qualities of the plates themselves seemed important, especially their fragility, I wanted to display these in such a way as to allow the viewer to inspect the plates closely. I could have shown the positives on a light box, but I felt like this would have diminished some of those qualities that I wished to emphasise, so I constructed a shelf which would hold the glass plates upright, projected a short distance from the gallery wall. The lighting was not entirely sympathetic, but this did have the effect of making the viewer look at the plates all the more attentively in order to comprehend the images.
Prototype for a Photographic Object
I returned to using the Kodak High Resolution Aerial Duplicating film for an exhibition called Machine Flight at the Pictorem Gallery in November. Close to the gallery in Walthamstow, there was the ideal source material in locations on Walthamstow Marshes. I took an initial set of photographs on 'Expired Film Day' of the railway arches where A. V. Roe built and then flew the first British aeroplane on the marshes in 1909; I shot the photographs on 4x5 film with a lens that could have been used at the time, a Rapid Rectilinear. I returned to take a second set of photographs of an adjacent feature on the marshes, known as 'bomb crater pond', less than a couple of hundred metres from the railway arches. This pond was created by the impact of a V2 towards the end of the Second World War. It seemed too appropriate a coincidence that within a generation from the first heavier-than-air powered flight, the space age was born, and that this would come together on an otherwise unremarkable patch of north London.

I shot the photographs on FP4 and Plus-X from the 1970s, and contact printed these negatives on a continuous strip of the High Resolution Aerial film, eighteen images, the whole length of positive film being around 2.5 metres long in total. Given how this aerial film would have been originally used, I made a device a little reminiscent of a microfilm reader, allowing the viewer to scroll through the images sequentially, forwards and backwards; I titled this a prototype, as its Heath Robinson construction would ideally have been improved.

Saturday, 30 April 2016

Worldwide Pinhole Photography Day 2016

Harman Direct Positive Paper
Last weekend, for Worldwide Pinhole Photography Day, I shot exclusively large format film and paper. Using a pinhole lensboard with my MPP Micro-Technical camera provided more flexibility than the cardboard cameras I'd made two years ago to shoot glass plates, four cameras constructed in two different sizes. In order to shoot more than just four pinhole photographs, I had taken boxes of plates and a changing bag with me to reload the cameras; the limit to using large format was how many 4x5 film holders I had. I made a pinhole using a piece of metal from a drinks can and rotating a needle to pierce it, fitting it behind a home-made lensboard. Measuring the hole by scanning it at maximum resolution gave a measurement of 0.2mm, although as I could only measure this down to one decimal place, it provided a margin of error to all other calculations. At a focal length of 150mm, this provides an aperture of f750. I shot some test photographs with this pinhole to find the resulting images less sharp than anticipated, realising afterwards this was due to the diffraction effect provided by small apertures.

MPP Micro-Technical Mk VI with pinhole lensboard
The website Mr Pinhole has a useful table to help calculate an optimum pinhole size for a given focal length. At 150mm this was given as 0.5mm. Carefully enlarging the pinhole and measuring it a few steps at a time, produced a pinhole of 0.6mm. At 150mm, this would be f250; extending the bellows to 180mm would mean f300, both convenient round numbers. The lensboard could be placed anywhere on the triple extension of the MPP, but short focal lengths would mean a loss of detail due to too wide an f-stop (as well as showing the folding bed in the frame), and long focal lengths a loss of resolution due to diffraction again, as well as increasingly long exposure times. Ideally, one could make a number of pinholes with optimum sizes for a number of focal lengths, but I used one, mostly at a focal length of 150mm, with only a couple of shots at 180mm; it was easier to conceptualise each picture at a 'standard' angle of view as the ground glass couldn't be used.

Ilford FP4 with handwritten date '11/4/78', shot with 180mm focal length
Initially, I had considered only using Harman Direct Positive Paper, but after testing the paper the day before with rather mixed results, I decided to shoot film as well, using the FP4 and Plus-X from the 1970s that I'd shot on the recent Expired Film Day (I did also shoot a handful of glass plates but found these harder than the Direct Positive Paper to get a decent image with the pinhole I had made). The Direct Positive Paper I shot was over five years old, and the developer I used, PQ Universal, was probably as old, if not older, an unopened bottle having been given to me some years ago. I developed the paper in a tank like film rather than in trays, so I wasn't able to inspect the process, but even with developing times around ten minutes, the darkest tones never quite got dark enough. In addition, getting the exposure right with Direct Positive Paper is difficult enough given its high contrast, compounded by rapidly changing lighting conditions in the morning, with broken clouds moving quickly across the sky, as seen in this shot on FP4 with an eight second exposure.

Harman Direct Positive Paper
With relatively long exposures at an aperture around f250 and shooting the paper with an exposure index of 3, a number of shots were complicated by the light changing during the exposure itself: with exposure times in full sun calculated at around 90 seconds, I had a more than one shot when part-way through an exposure, the sun would disappear behind a cloud, and I had to try to re-calculate how much to extend the exposure with the light levels dropping three or four stops, as in the image above, and mostly erred on overexposure, with which the paper very quickly loses all highlight detail.

Harman Direct Positive Paper
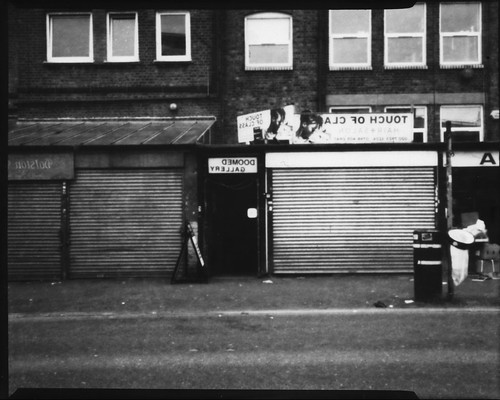
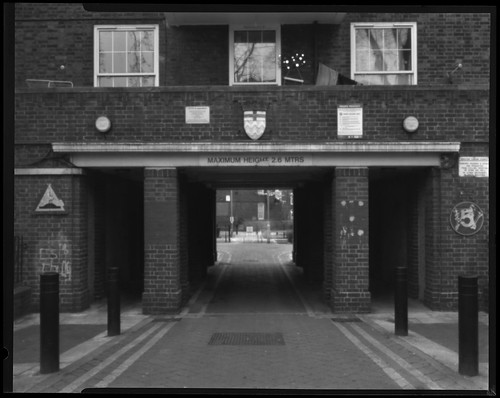
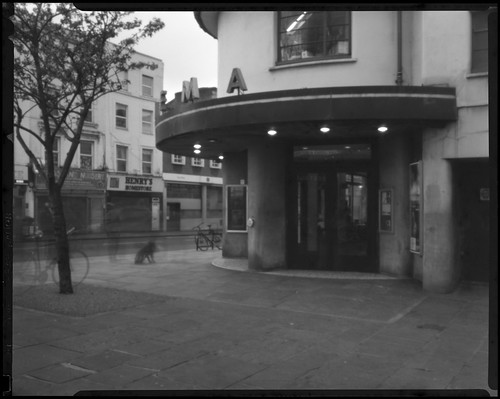
Later in the day, conditions became overcast, which made using the Direct Positive Paper easier, not only with more consistent lighting, but also being inherently lower contrast. The images above, and at the top of this post, were taken in such lighting. The Direct Positive Paper does give a reversed image, which might mean avoiding shots with lettering being prominent; I shot the exterior of Doomed Gallery as I had an exhibit in the London Alternative Photography Collective exhibition over the weekend as part of the London Pinhole Festival - glass plate positives of the negatives shot on Worldwide Pinhole Photography Day two years ago. I also made another exposure on FP4 film as a comparison. As well as exposures in seconds rather than minutes, using film, even out of date film rated 64 and 25 for the FP4 and Plus-X respectively, both film's latitude and reciprocity failure helped achieve more consistent results.

Ilford FP4 with handwritten date on the box '11/4/78'
Kodak Plus-X, develop date before July 1972
See the whole set of pinhole photographs here.

Thursday, 28 May 2015

Worldwide Pinhole Photography Day 2015

Ilford Special Lantern Plate
Having made four pinhole cameras for last year's Worldwide Pinhole Photography Day, it was simple enough to use these again for this year's event on 26th April. I had made the cameras to use glass lantern plates in two different sizes, 8.2x8.2cm and two-inch square plates. Unlike last year, where I had an encounter with security staff in the Queen Elizabeth Olympic Park, this year I just shot the plates at home and while working on my allotment.

For the small cameras, I used Ilford Special Lantern plates, the fastest lantern plates that Ilford manufactured, and the plates that I used were of 'soft' contrast grade; I've used these plates fairly often before, and not just with pinhole photography. The box that the plates I used for this year's Worldwide Pinhole Photography Day had a leaflet inside the box dated to 1966, and in common with other boxes of Special Lantern plates, the emulsion has lasted well. However, I did have problems  with fogging, possibly a light leak as this shows up in the bottom right corner in most of these plates.

Ilford Special Lantern Plate
One feature of the emulsion used for lantern plates is that it is 'ordinary' or blue sensitive. In the still life photograph above, the yellow of the lemons is rendered as dark, if not darker, to their green leaves (this plate was also underexposed). For most of the pinhole photographs taken with the lantern plates, this has little directly observable difference from panchromatic emulsions, but with a high-key local colour, such as with the lemons, it is striking in comparison.

Ilford Special Lantern Plate
For the larger cameras, I used Kodak L5 Warm Tone plates, having used all my Ilford plates in the 8.2cm size. I'd shot a test plate from the box last year, so I anticipated the results. The Kodak emulsion has suffered more from age in comparison to the Ilford plates, and appears higher in contrast. The plates were all tray developed by inspection under a red safelight in RO9 One Shot, diluted 1:120.

Kodak L5 Warm Tone Lantern Plate
See the whole set of photographs here.
Worldwide Pinhole Photography Day website.

Tuesday, 29 April 2014

Talking about pinhole photography with security guards in the park

Ilford 8.2cm Special Lantern Plate, 10 minute exposure
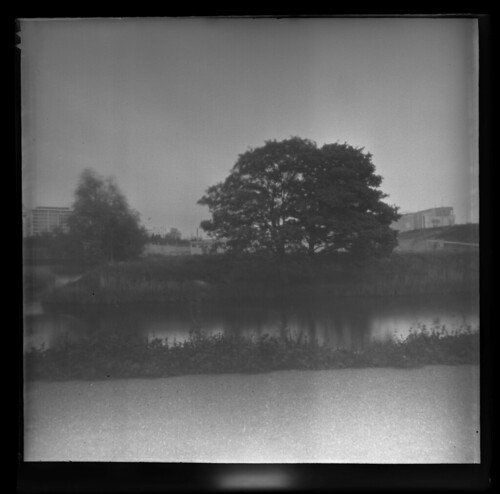
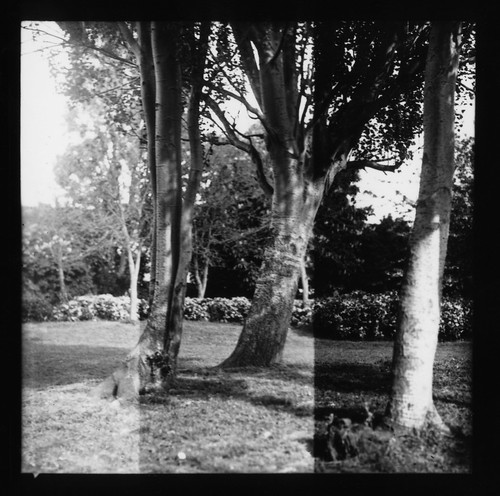
Two days ago, 27th April, was 'Worldwide Pinhole Photography Day'. In the past this particular day in the photographer's calendar has been one that I haven't observed, and it's been an odd lacuna that, in all the formats and techniques I've used, I've not made a pinhole camera before. This seemed a good occasion to fill that gap. After my recent work with vintage glass plates, I naturally wanted to use them for the pinhole day. In considering what form the cameras would take, I decided to make them square, and to use some lantern plates I had which I hadn't previously shot. Prior to, and then concurrent with transparency film, lantern plates were used to make glass slides for projection and typically would be made by contact or with an enlarger. Before the pinhole day, I tested two types of 8.2cm square lantern plates for exposure, Ilford Special Lantern plates and Kodak L5 Warm Tone Lantern plates. I shot these with the MPP Micro-Technical camera in adaptors made as detailed in a previous post, using a starting exposure index of 5, thinking that the lantern plates might have an emulsion sensitivity similar to photographic paper, and took three successive exposures by progressively withdrawing the darkslide, effectively giving exposures (from right to left) at 5, 2.5, 1.2 to seen how much sensitivity the plates may have lost with age. The Ilford plate box had a leaflet inside dated to November 1965.
Ilford Special Lantern plate test, scan from contact print on Kentmere VC Select paper
The Ilford plates provided better results, with less fog and less silvering than the Kodak L5 plates.  Ilford's were the fastest lantern plates they manufactured ('Gaslight' and 'Contact' plates were also available), an important factor for the choice of these plates with pinhole cameras, and the Special Lantern plates were also made in three different grades of contrast: 'Soft' 'Normal' and 'Contrasty'; when shooting these as negatives, the 'Soft' contrast grade is still high, which reinforces the suggestion that the lantern plate emulsions were similar to that of photographic paper, which is usually high in contrast when used as a paper negative. The plates for the test were stand developed in R09 One Shot at a dilution of 1:100 for one hour.

I made pinhole cameras in two different sizes, to fit the 8.2cm plates tested, and 2-inch square plates, of the same type. I made the cameras from stiff card and constructed two cameras of each size; when working with glass plates it makes sense to work in pairs, as this is how the plates are packed. The pinholes were made from small squares of metal from aluminium cans, with a pin, not pushed all the way down the shaft, but merely rotating the tip to create as smooth and round a hole as possible. I measured the pinholes by scanning these at high resolution, which came out at either 0.3 or 0.2mm diameter. This measurement could then be used to calculate the f-stop of the pinholes (the f-stop number being focal length divided by aperture diameter). For both large and small cameras I made them with a focal length similar to the width of the plates, which is effectively wide angle, the focal length being less than the diagonal measurement of the image format. On the small cameras, a pinhole diameter of 0.2mm equated to f255; 0.3mm was f170. On the larger cameras these diameters gave f-stops of f400 and f274 respectively. As I wasn't able to measure the pinholes more accurately (to 1/100th of a millimetre for example), these figures were approximations, but having tested the sensitivity of the plates, I had enough information to roughly calculate the exposure times needed. Ideally I would have tested the cameras themselves before the day to see any potential shortcomings, of which there were a few, but I was still making them on the morning of the 27th.

Pinhole Camera for 2-inch plates
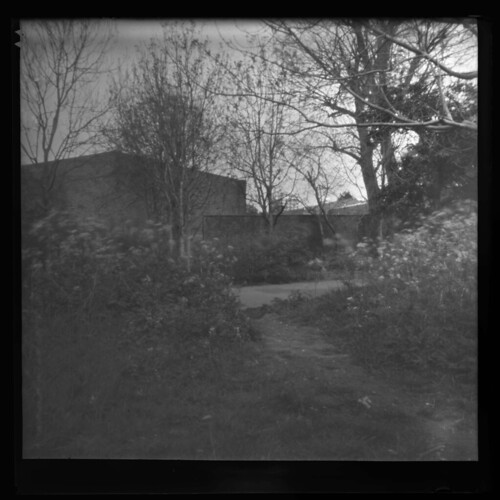
To shoot the cameras, I decided not to take a tripod, which meant having to find spots where the cameras could be placed for the long exposures needed, and, intending to shoot more than just four plates, I also took a dark bag, boxes of unexposed plates, and empty boxes to place the plates once shot. I started at Marsh Lane Fields in Leyton, where there was a convenient picnic table, on which I could set up a couple of the cameras for exposures of 15 and 6 minutes (and sit and read the paper while the shutters were open).
Ilford 8.2cm Special Lantern Plate, 15 minute exposure
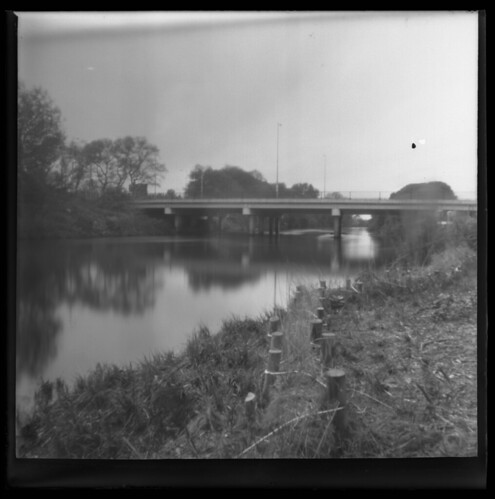
I then walked on towards the Queen Elizabeth Olympic Park where I shot a couple more large plates on a verge sandwiched between Ruckholt Road, a slip road for the A12, the A12 flyover itself and the River Lea. This used to be one of those undesignated left-over spaces (which I have photographed before), but has recently been landscaped to provide a path along the bank into the Olympic Park. There was a sluice gate there which provided a platform to place the pinhole cameras for some more exposures. I also changed plates with the dark bag while there.
Ilford 8.2cm Special Lantern Plate, 10 minute exposure
Entering the Olympic Park, and following the Lea, I found a bench on the other side to sit and position one of the cameras to take the photograph which appears at the top of this post. While I was sitting there reading the paper, a golf buggy drew up with two security guards. I'd have liked to have recorded the encounter which followed, but I shall just describe it as well as I can recall. They said that I had been picked up on the security cameras; I can't remember exactly whether they said I'd been seen taking pictures near the children's playground, or if they just asked had I been taking pictures there. I don't know whether they were simply mistaken, or if this was an invention used to justify questioning me, but the insinuation was made. I hadn't been near the playground, and didn't know where it was at the time (I looked this up when I returned home); I may have been relatively near to it when crossing from one side of the Lea, by the Velopark, to the other, but I certainly wasn't taking any photographs at the time. It didn't seem worth explaining that the pinhole exposures of ten minutes or more would be of no use to what they seemed to be implying. They appeared to accept my denial of taking photos at the playground, but had more questions. I had been seen writing things down, which I had, so I showed them my notebook on which I'd written entries such as "3.54 No. 1 Large - River Lea/10 minutes". They then wanted to see the cameras. I only had the one out that I was taking the picture with, so I curtailed the exposure, which was going to be longer, and they also asked if I was leaving these around the park. I explained I only had four cameras and was keeping them with me. The security guards then asked what I was taking the pictures for, at which point I couldn't help entering a philosohical frame of mind (for some reason I declined to inform them that it was 'Worldwide Pinhole Photography Day'). I resisted the temptation to say "to see what things look like when they're photographed," circular but honest reasoning. I was asked if the photographs were going to be shared anywhere, and I said 'probably' on Flickr. Then they said I'd also been seen taking photographs on a phone or digital camera. It was only later that I realised what had been seen on the security cameras and not understood was my use of a handheld lightmeter; however I did have my Kiev 30-M in my pocket, and although I hadn't used it inside the park, I did tell them I had a film camera with me. They asked if they could see the photographs. I had to disappoint them by explaining they couldn't see the photographs as these would need to be developed. At this point I could sense that conversation wasn't providing any more avenues for the security guards to go down, and after some small talk about the transformation of the area, during which I kept my views of the Olympics to myself, one of the guards said "I don't have any problems with you taking photographs in the park". They had been polite throughout, and, to be generous, I can see the need for suspicious behaviour or behaviour that is not understood to be investigated. However, the statement or question about the children's playground was insidious and unnecessary. Having satisfied the security guards' questioning, I left the Olympic Park by the nearest exit.
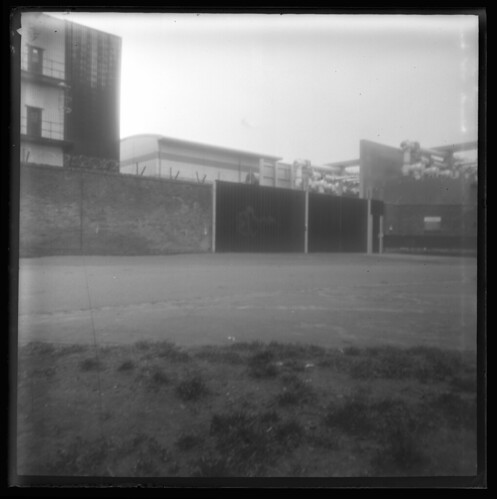
Ilford 8.2cm Special Lantern Plate, 20 minute exposure
I took a few more shots returning along the canal, such as the image above, then finally some shots at home as the light was failing, with exposures well over an hour to compensate.
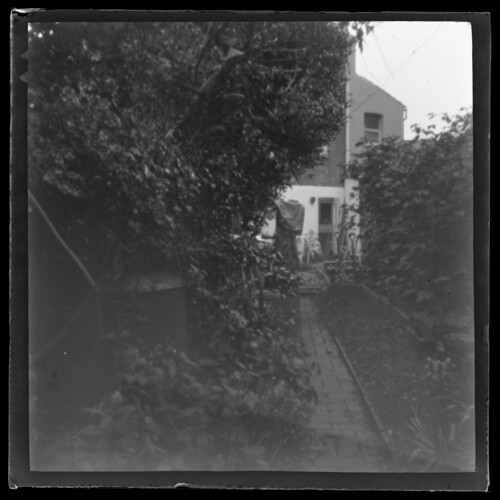
Ilford 2-inch Special Lantern Plate, 1 hour 20 minute exposure
I stand developed the 8.2cm plates for an hour, using a higher dilution of R09 One Shot, 1:150, to reduce contrast a little more than the earlier tests. Meanwhile, the smaller plates were tray developed by inspection in R09 One Shot 1:120: one of the benefits of using the lantern plates is that they are orthochromatic so can be handled under a red safelight. All but one of the plates used were Special Lantern plates, but I did also shoot a 2-inch Contact Lantern plate, which proved both slower and higher in contrast than the Special Lantern plates: this was tray developed for a considerably longer time than the other plates, but there wasn't sufficient exposure to provide any shadow detail. All the negatives had come out, but there had been some problems, particularly with the small cameras, some of the plates not sitting properly in the slots I'd made to hold them inside the cameras, and some slight light leaks, problems which I might have been able to elimate had I tested the cameras beforehand, but I wasn't disappointed with my first pinhole photographs.

See the whole set of pinhole photographs here.
Worldwide Pinhole Photography Day website.