Wednesday, 19 November 2014

Distars and Proxars

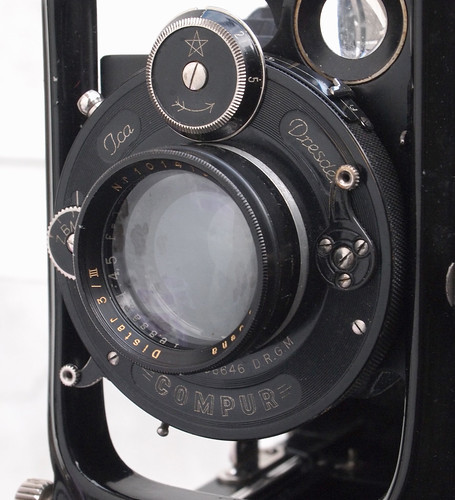
Ica Trona with Distar supplementary lens
Having achieved some good results recently with the Ica Trona, use of the camera's full 9x12cm frame size is limited by the number of plateholders with films sheathes I possess, and also limited to the few films manufactured in the 9x12cm size. Using a rollfilm back with the camera is convenient and means being able to shoot with any medium format film available. However, this leads to cropping the image, or, to put it another way, using the rollfilm back provides an image with a narrower angle of view. For most of the cameras I habitually use, I'm almost always happy shooting everything with the 'normal' focal length lens for the format and most of my cameras have fixed, non-interchangeable lenses. For cameras of a similar age or design to the Ica Trona, if the photographer wanted to use different focal length lenses, there were three approaches to achieve this: more expensive cameras did have interchangeable lenses, often with a bayonet mount, like the Voigtländer Bergheil (although this did require each lens to also have its own shutter); certain lenses were designed to be convertible or combinable, where front and rear lens elements were each sufficiently well corrected to be used individually either behind or in front of the shutter; and there were also supplementary lenses, to be used like filters, which change the focal length of the lens they are attached to. The Ica Trona has a Tessar lens, the design of which does not lend itself to being used as a convertible lens. When writing the blog post for the Trona, the Zeiss catalogues on Camera Eccentric were an invaluable resource; the 1933 catalogue includes a detailed section on Zeiss's supplementary lenses. Zeiss introduced the Distar first (seen in the 1927 catalogue, page 18), which increases the focal length of a lens; this was then added to by the Proxar, decreasing the focal length. The Proxar proved to be the more useful of the two, and was produced to fit many cameras for a number of decades. Other manufacturers also produced supplementary lenses.
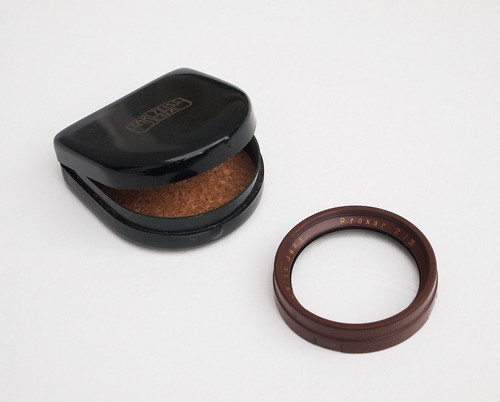
Zeiss Proxar supplementary lens with case
The Distars and Proxars were initially made as push-fit accessories to fit onto a camera lens in the same manner as a filter, in a variety of sizes and different powers of magnification. Both have gold lettering inscribed around the mounts and the pre-war Proxars are brown, perhaps to be easily identifiable at a glance. On the Camera Eccentric website, the reproduced Zeiss lens catalogue from 1933 has both Distars and Proxars listed with a full description and tables for use (the 1929 catalogue also lists both, but the 1933 one has better illustrated examples). To quote from the catalogue:
The Distars are single lens components of small diverging power [...]. When placed in front of the camera lens they increase its focal length with corresponding increase of the camera extension. They thus add to the scope of camera lenses, especially those of an unsymmetrical type, since these, from their very nature, are only adapted for use on cameras with single extension in that their components are not corrected independently for use as long-focus lenses. In conjunction with the Tessars the Distars form wide-range sets of convertible lenses.
[...]
PROXARS are lenses of small converging power [...]. When attached in front of the camera lens, they produce an effect opposite to that of the Distars in that they shorten the focal length. Thus, Tessar F/4.5, f=13.5cm has its focal length reduced to about 13cm, 12.5cm, 12cm, or 11.5cm according to the converging effect of the Proxar selected. The range of uses of the Tessar is thereby widely extended in a twofold direction, viz:

For obtaining large figures of near objects [i.e. close focus images]
[...]
For taking wide-angle photographs at greater distances
Use of the Distar depends on the camera having sufficient bellows extension to achieve infinity focus, the greater the power of the Distar, the longer this distance needs to be, while the Proxars, to focus on infinity, need less bellows extension than the lens would normally require. This last fact is the reason for the Proxar's greater usefulness: on rigid-body cameras, it is usually impossible to reduce the lens-to-film plane distance, meaning that a Proxar could not be used for wide angle photographs ("at greater distances") as the lens would not focus on infinity, but it would still work as a close-up accessory, which Proxars were sold as, post war, no longer brown, as either push-fit accessories or with screw threads for mounting.
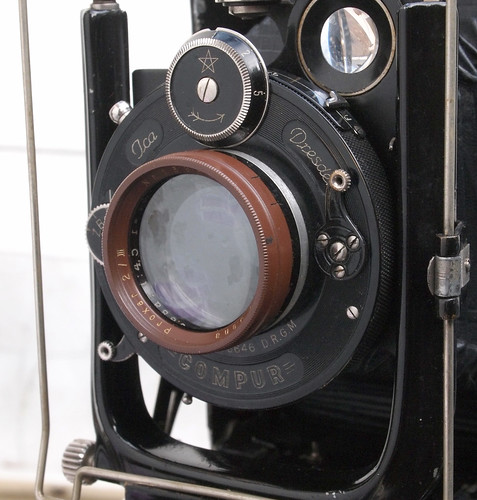

Ica Trona 210 with Proxar supplementary lens
I recently bought one of each: a Distar 3/III and a Proxar 2/III. According to the table in the Zeiss 1933 catalogue, the Distar 3 increases the equivalent focal length of the 13.5cm Tessar lens to 22.5cm, needing a bellows extension of 23cm to focus on infinity; the Proxar 2 reduces the equivalent focal length of the lens to 11cm, with infinity focus at 10.5cm. Reiterating what I've written earlier in this post, one reason I wanted the Proxar was to be able to use the rollfilm back with a 'normal' angle of view: a standard lens for the 6x9cm frame size is 105mm, so 11cm is very close.

The first set of test photographs I made with the Proxar were all out of focus, initially confusing as I'd used the ground glass screen to focus the images. When I shot a second set of test images, I realised where the problem arose: once the image was focussed, I discovered the tendency of the lens to slide forward on its runners when removing the back and replacing it with a plateholder, especially when pointing the camera downwards. On the Trona, the lens is designed to be pulled forwards to the infinity stop at 13.5cm, the focus knob is then used for closer focus and partly as a result of use, the lens moves with relative ease to the infinity stop itself (there is some friction, but perhaps the additional weight of the Proxar helps overcome the inertia). The Distar attachment provided different concerns: what's known as bellows effect, not mentioned in the Zeiss catalogue, which, for purposes of exposure and using the ground glass screen, results in a dimmer image. As the bellows are extended, moving the lens further away from the film plane, the relationship between aperture size and lens to film plane distance are changed significantly. To simplify the numbers for the purposes of giving an example, an aperture of f4 on a lens of 100mm focal length has a diameter of 25mm. If that lens is extended to a distance of 200mm from the film plane, that 25mm diameter of the f4 aperture is now one-eighth rather than one quarter, giving an effective aperture of f8, two stops difference in terms of exposure. Returning to the Distar 3 on my Tessar lens, as the focal length wasn't doubled, being nearer to an increase of half the focal length, for ease of calculation, I increased exposure by one stop (the same effect in reverse would be the case with the Proxar at infinity focus, but a decrease in focal length from 13.5cm to 11cm is not as dramatic, and although logically the image should be brighter, it is not different enough to compensate for in exposure).

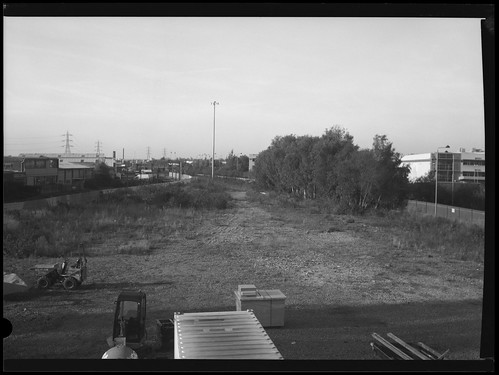
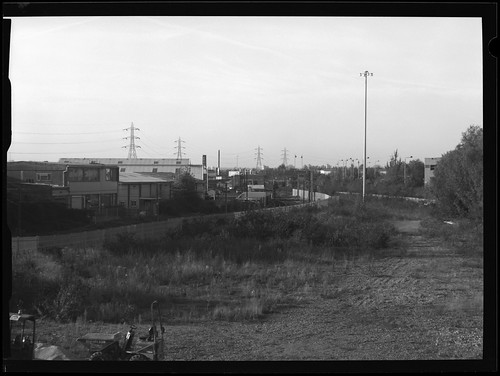
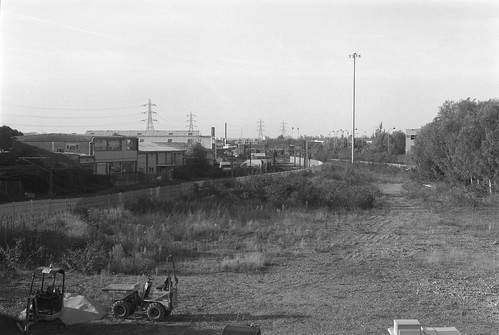
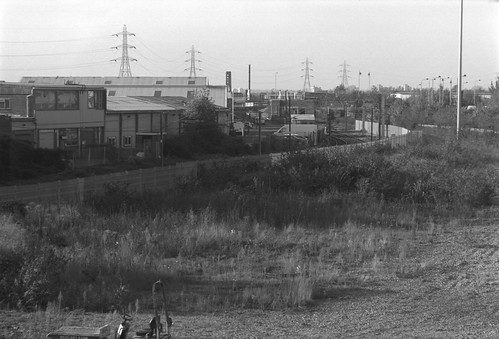
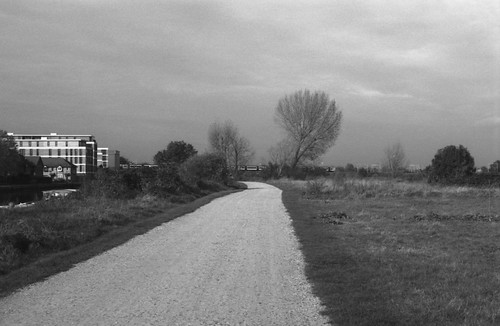
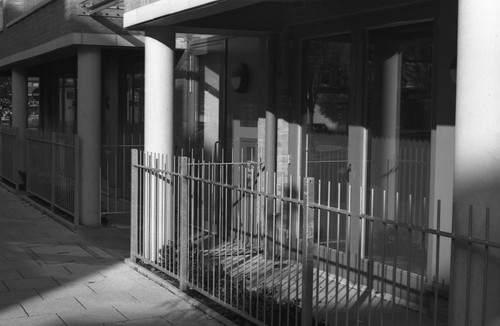
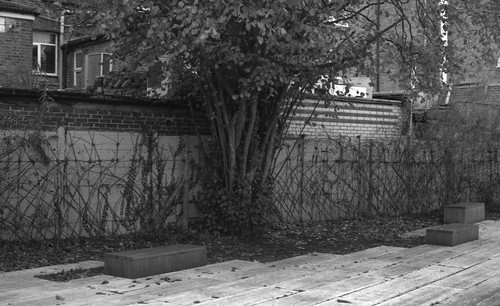
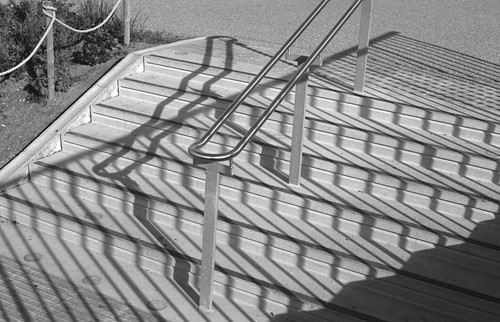
The images below were all shot hand held: although for testing the qualities of the Distar and Proxar themselves it would have been better to use a tripod, I wanted to use the supplementary lenses in conditions that I have been using the Ica Trona camera. I push processed the 9x12cm Fomapan 100 to 200 in order to provide an extra stop in exposure, to use a smaller aperture at a faster shutter speed. The images are arranged from shortest focal length to longest.
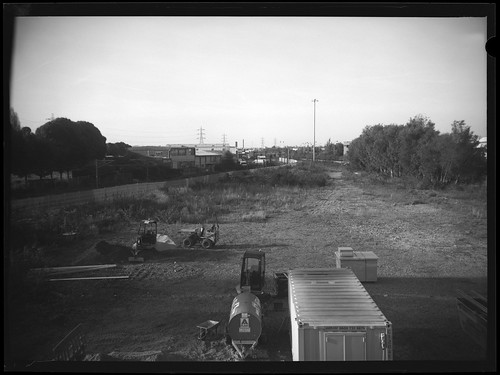
Ica Trona 210 with Proxar supplementary lens, Fomapan 100 rated 200 EI
Ica Trona 210, Fomapan 100 rated 200 EI
Ica Trona 210 with Distar supplementary lens, Fomapan 100 rated 200 EI
When shooting the tests, I focused with the ground glass screen, then used the wire frame finder (the 'Iconometer') for framing once the screen had been replaced with a plateholder. The wire frame finder continues to give a fairly accurate framing as the angle of view changes relative to how near or far the finder is to the eye piece (this is also true with the front rise and cross movements). The top image of the three, taken with the Proxar shows some vignetting and also has a shadow at the left had edge due to the bellows on my camera being slightly deformed. In addition, the bellows on my Trona do not have the clips that many double extension folding plate cameras often possess to gather the bellows when the lens is closer to the film plane, i.e. at or near to infinity focus.

I also shot a sequence of images with the rollfilm back. Using Rollei RPX 400, I gained an extra stop in exposure from the push-processed Fomapan 100 sheet film. On the frames with and without the Proxar, I stopped the lens down further; with the increased focal length using the Distar, I chose a faster shutter speed to guard against camera shake. These provide a better example of the change in angle of view than the sheet film shots above as the framing is more consistent across all three photographs.
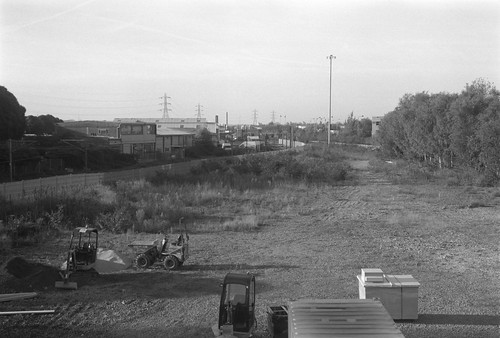
Ica Trona 210 with Proxar supplementary lens, Rollei RPX 400 in rollfilm back
Ica Trona 210, Rollei RPX 400 in rollfilm back
Ica Trona 210 with Distar supplementary lens, Rollei RPX 400 in rollfilm back
For comparison with the images from the rollfilm back, I also shot the same scene with the Zodel Baldalux: the 6x9cm frame size is the same and the focal length with the Proxar and the rollfilm back is close to the 105mm lens on the Baldalux - the reason for my interest in the supplementary lenses. Using the Proxar as a close up attachment rather than for wide angle, with the double extension bellows on the Trona, it is possible to focus very close to a subject. Bellows effect also applies, as with the Distar, and I also found focus difficult: even with the lens fully opened the image on the ground glass was still dim, and depth of field was extremely shallow. The photograph below was stopped down to f25 and by necessity, this was shot with a tripod (exposure was around 30 seconds). Although the shallow depth of field limits the use of such extreme close up photography, the scale of the mouse on the negative is actually larger than life size.
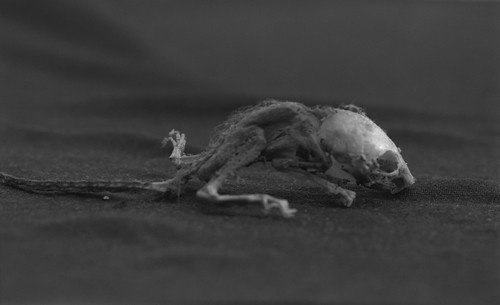
Ica Trona 210 with Proxar supplementary lens, Rollei RPX 400 in rollfilm back
The 1933 Zeiss catalogue contains an illustration (p30) showing six different views achievable from the same standpoint with a 15cm Tessar and Distars and Proxars of different powers with the caption, "Convert your ZEISS TESSAR at small cost into an objective of wide utility." Most of the remarks about the use of Distars and Proxars in the Zeiss catalogues relate directly to their use with the Tessar lens. The other designs listed under 'Universal Lenses' are Dagors and Protars, the first being symmetrical and the second composed of components of different focal lengths, but both can be used as convertible lenses. The introduction of the Distars and Proxars was intended to add this flexibility to the Tessar;
The Tessar is [...] pre-eminently the lens for hand cameras with single extension. In the course of recent years it has more and more taken the place of symmetrical and semi-symmetrical lenses in cameras with double extension, thanks to the introduction of our Distars and Proxars. These are single attachable front lenses whose curvatures are so computed as to increase or decrease the focal length of the objective within certain limits. They form, therefore, with the Tessar a very comprehensive convertible set, so that it can be used on hand cameras with single extension, and to a still greater extent on cameras with double extension, with a new range of applications. 
Zeiss lens catalogue, 1933
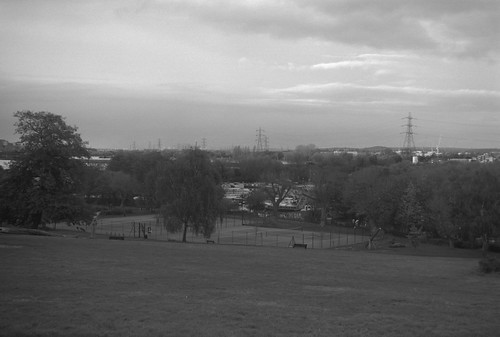
Ica Trona 210 with Proxar supplementary lens, Rollei RPX 400 in rollfilm back

Sources/further reading:
Zeiss Lenses Catalogue 1933
Supplementary lenses on Early Photography

Wednesday, 12 November 2014

Adox Silvermax 100/21

Adox Silvermax - left: old style labels/right: current label style
Earlier this year, out of curiosity, I bought, and shot, a roll of Adox Silvermax 21. Silvermax is relatively new film, introduced two years ago. That first roll had a label that was inkjet printed, suggestive of a small production run. It was not DX coded and the name Silvermax 21 referred to the film speed expressed in the DIN scale rather than ISO; more recently, the last couple of rolls I've bought were Silvermax 100, still with printed labels and without DX coding, but no longer printed by inkjet. It is currently available in 35mm and also Super 8 as Adox Pan-X Reverso. According to the data sheet, Silvermax is a mix of traditional cubic and t-grain crystals, in a single layer emulsion with enhanced silver content, hence the name.

Adox Silvermax latitude test contact sheet
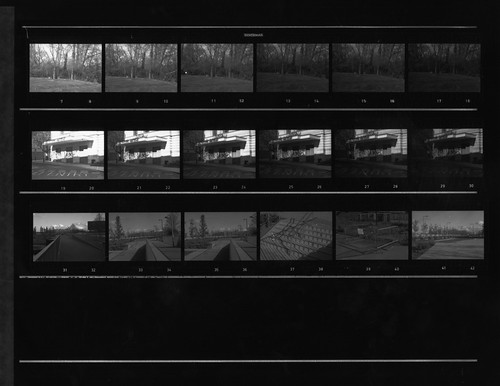
The roll I'd shot earlier this year had been without any prior testing of the film, but I decided to return to it. As in some of the other film tests posted on this blog, I shot a roll (with an Olympus OM10) at a variety of exposure indexes to test the film's latitude. The contact sheet of this test is above. The first and second rows of six frames are rated, left to right, 12, 25, 50, 100, 200, 400. The third row was all shot at the box speed of 100 ISO. Incidentally, these negatives appeared low in contrast, and at first glance perhaps indicating underexposure, although these scanned well.The negatives also have a half-frame numbering system: rather than the more normal set of numbers in the film rebate of 1, 1A, 2, 2A and so on, there are two numbers per frame in a continuous series. I developed the film in R09 One Shot (Rodinal) diluted 1+25 for 8 minutes at 20ºC. The contact print was made on Ilford Multigrade RC IV without a Multigrade filter.

Adox Silvermax at box speed developed in R09 One Shot 1+25
I shot two series of images for the latitude test: one of a low contrast subject and one of high contrast, to compare how the film would perform under both conditions. The low contrast subject above was easy to scan without too much adjustment across the whole range of exposures, which would most likely hold true for darkroom printing. The negatives resulting from the high contrast subject were more indicative of the film's capabilities.

Adox Silvermax at EI 12 (three stops overexposed)
Adox Silvermax at EI 400 (two stops underexposed)
The two images above are exposures separated by six whole stops. The highlights in the image shot at 12 are not noticeably blocked out, while the shadows in the lower image, although thin, and the tonal range is more compressed, hold detail. In the first row of photographs shown on the contact sheet above, as a lower contrast subject, the difference between each is less. I pulled detail back from both extreme ends of the negatives in the scanning - the film has a clear base, which is designed to aid reversal processing, explicitly mentioned by Adox, but perhaps also to help scanning when developed as negatives. Adox claim 14 zones when developed with their own propriety Silvermax developer; it would appear that Rodinal or R09 achieves something similar. On the data sheet for Silvermax, the curve's shoulder has a slow roll over, which, if I am interpreting it correctly, shows that, in the upper range, density builds more slowly as exposure increases, meaning that the highlights resist blocking out. Given the appearance of excellent latitude from the first test, exposing the film at a variety of ratings and changing the development time to suit should provide even better results. As a relatively new film, there is not a great deal of information on push or pull processing; indeed there are not development times for a wide amount of film developers, although for unlisted developers, Adox recommend using times for (the old version of) Agfa APX 100. From the first test roll that I shot, the film does appear to have relatively prominent grain for its speed, which shows in areas of continuous tone, such as skies like the image below, this may in part be due to the developer used (I haven't used the Silvermax developer for comparison) but also scanning rather than printing can exaggerate the appearance of grain.

Adox Silvermax at box speed, developed in R09 One Shot 1+25
Although recommendations for push and pull processing are few, on the Massive Dev Chart, there is an entry for rating the film at 80 and semi-stand developing in Rodinal diluted 1:50 for 14 minutes with agitation every three minutes which I wanted to try. The negatives appeared lower in contrast than the roll shot and developed for the latitude test, which was partly the subject matter, but the results had a very pleasant tonality and scanned well. However, rating the film one-third of a stop less and compensating for this a little in the developing is hardly likely to show much of a difference to the standard time and dilution for Rodinal; it may have been a better comparison to shoot at box speed and try Rodinal at 1+50 to see any discernible difference to the dilution of 1+25.

Adox Silvermax at 80EI semi-stand developed in R09 One Shot 1+50
As I have been using Ilfotec LC29 for developing at home, I also wanted to use this with Adox Silvermax and compare it to Rodinal/R09, although the data sheet for the film does not list the developer. For the first roll developed with Ilfotec LC29, I used one hour's stand development with a dilution of 1+100, as a fairly reliable method when faced with unknown variables.

Adox Silvermax at box speed, stand developed in Ilfotec LC29 1+100
Finally I also tried a one stop push, rating the film at 200. To develop this test, I looked at development times for the old version of Agfa APX 100 in Ilfotec LC29, and extrapolated for one stop of push processing, extending development time from 9 to 14 minutes at 20ºC in Ilfotec LC29, diluted 1+29. As the latitude test suggested, Silvermax coped perfectly well with a small amount of push processing.

Adox Silvermax rated 200, developed in Ilfotec LC29 1+29, 14m at 20ºC
Adox Silvermax rated 200, developed in Ilfotec LC29, 14m at 20ºC
Of the different development routines, Ilfotec LC29 appeared to provide better results in comparison to Silvermax in Rodinal, and on the limited tests I've done, I preferred the look when stand developed. The film test on the Massive Dev Chart shows Silvermax in Adox's Silvermax developer giving a little smoother grain appearance, a better proof may be in darkroom printing, the images in this post are all scanned from the negatives.

Adox Silvermax at box speed, Kodak Retina IIa, developed in R09 One Shot 1+25
Adox Silvermax at box speed, Olympus OM10, developed in R09 One Shot 1+25
Adox Silvermax at box speed, Olympus OM10, stand developed in Ilfotec LC29 1+100
Adox Silvermax at EI 200, Olympus OM10, developed in Ilfotec LC29 1+29 for 14 minutes

Wednesday, 5 November 2014

Some large format glass plates

Ilford Selochrome 4x5 inch glass plate
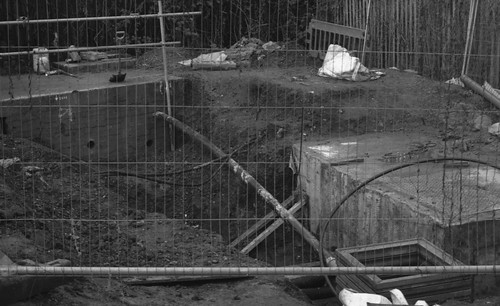
In my posts about the ongoing glass plate night photography project, I've written about how some sizes are more common than others. Of all the relatively standard formats, 4x5 inches appear less frequently than quarterplate or the small metric and imperial sizes: in the past year I have only acquired two boxes in this size since using up the box of Air Ministry plates.

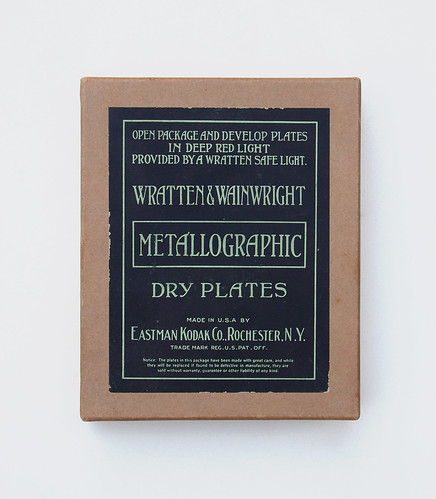
Wratten & Wainwright Metallographic Dry Plates
The first of these are Wratten and Wainwright Metallographic Dry Plates. Wratten and Wainwright were a British company bought by Eastman Kodak in 1912 (a few years earlier, Eastman Kodak had made approaches to buy or merge with Ilford, presumably to gain larger market share in the UK). The Wratten name was used as a Kodak brand for many years afterwards, notably for filters and safelights, as demonstrated by the instructions at the top of the box. The Art Nouveau typeface used on the box label suggested that the plates were old, as did the explicit use of the phrase 'Dry Plates'; dry plates had been around since the last quarter of the 19th century and superseded the wet plate process, such that it quickly became reasonable to assume that photographic plates were all of the dry variety, and none of the many other boxes of plates I've collected and used are described as 'dry plates'; indeed, even at the time one would never have found boxes of wet plates as a commodity, as the wet plate process required the photographer to coat a sheet of glass and then expose this in the camera before the emulsion had time to dry. The development of the dry photographic plate itself allowed the emergence of companies such as Eastman and Ilford to supply material to photographers, taking the step of preparing a light sensitive surface away from the photographer and into the business of mass production (however, as there are contemporary photographers who have revived the wet plate process prominently enough, when I mention shooting with glass plates, this becomes an occasional misunderstanding). The reverse of the card inside the box has the numbers '5/35' at the bottom, which may be a date of printing. I have used a later version of Metallographic plates before with some success.

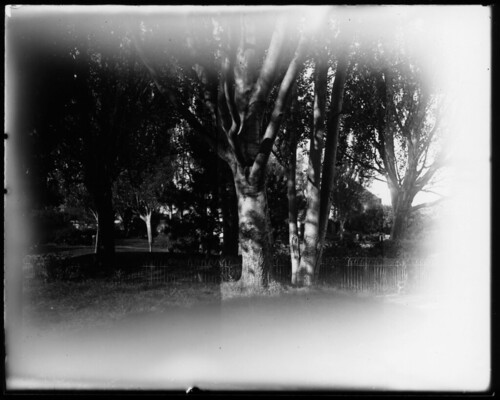
Wratten & Wainwright Metallographic plate test
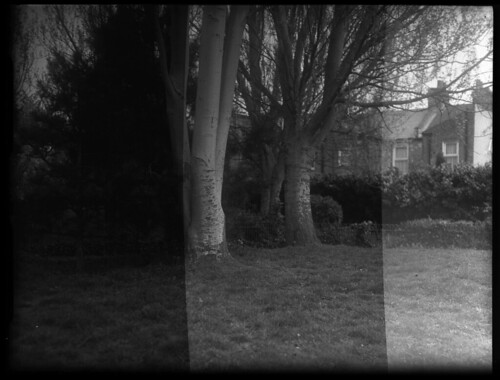
The test shot shows the Wratten & Wainwright Metallographic plates to be heavily fogged at the edges, but clear in the central portion. I did shoot a couple of these plates at night, but I was disappointed with the impenetrable fog around the edges of the plates. I had previously achieved some good images from the box of Air Ministry plates which were of a similar age, but as I have found as a very general rule, Kodak plates on the whole have tended not to age as well as Ilford plates; most of the glass plates I've used over the last couple of years have been either Kodak or Ilford, and I tend not to buy Kodak plates now unless in a rare size such as 4x5 inches (I do not have any information as to which manufacturer supplied the Air Ministry plates).

Wratten & Wainwright Metallographic glass plate
Ilford Selochrome 4x5 inch plates
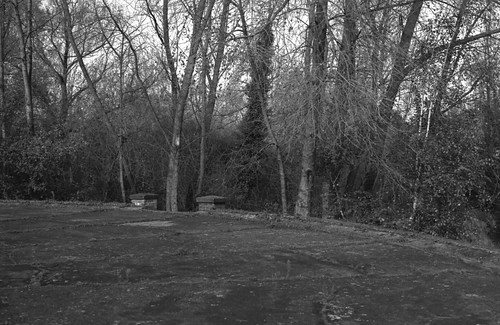
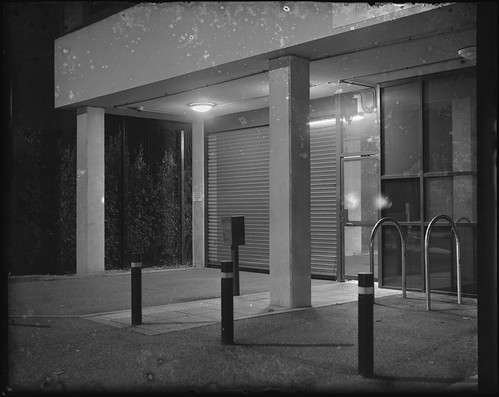
Around the same time I also bought an unopened box of Ilford Selochrome 4x5 inch plates. These had a leaflet inside which was dated to 1951. The wrapper around the box has two different styles of label: on the side, the narrow label is a newer design, with Ilford written in a sans serif font. Like the Wratten and Wainwright plates, Selochrome is also orthochromatic (a panchromatic version of Selochrome was later made, at least as a roll film by Ilford, which I used on the last 127 Day). The Ilford Manual of Photography describe Selochrome as "a fast plate for general purposes. Of average contrast. Fine grain and highly orthochromatic." I shot a test at the same time as the Metallographic plate. The result below looks relatively high in contrast, but this is in part due to the image being scanned from a contact print. The plates have aged quite well, with a few spotting marks, appearing on some plates more than others. The image at the top of this post is the best example of a photograph shot on these plates. I also shot the same scene on one of the Wratten & Wainwright Metallographic plates for comparison.

Ilford Selochrome plate test
Ilford Selochrome 4x5 inch plate
As well as 4x5 inch plates, I am also including in this post 9x12cm plates. As mentioned in my post on the Ica Trona 210, 9x12cm usually qualifies for large format. Last year, I wrote about finding three previously opened boxes of 9x12cm plates, which I got a few good results from two of the boxes. Earlier this year, I bought a job lot of three boxes of Ilford HP3, all previously unopened.

Ilford HP3 9x12cm glass plates
I could see from the box style before bidding on the lot that these were possibly late 1960s or early 70s. When the boxes arrived, one was not sealed, but was full; I opened one of the other boxes to find the leaflet inside. This was dated to 1973, just two years from the end of plate manufacture at Ilford. What the leaflet shows is just how many different types of plates (eight) were still being made at that late date. HP4 was introduced in 1966, but was made alongside HP3, and did not replace it for a number of years according to Photomemorabilia's Ilford Chronology, possibly HP3 as a plate emulsion was continued until glass plate manufacture ceased, and HP4 is not listed on the leaflet from the box. At this late date the HP name is also given in full: Hypersensitive Panchromatic. The boxes also contained 36 plates each - all previous boxes of photographic plates I've used contained, at least originally, one dozen (except for one half-dozen box). I suspect that at this stage it was uneconomical to sell plates in smaller amounts.

Ilford HP3 plate test
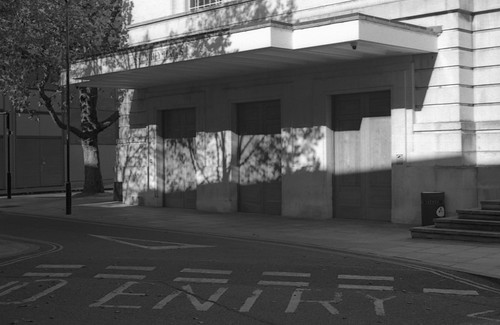
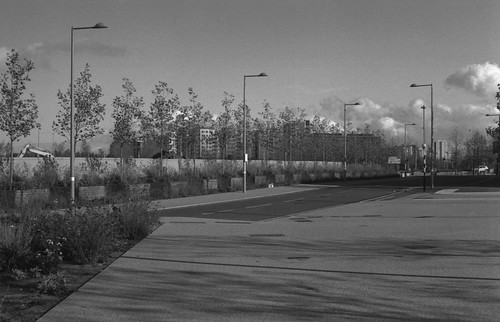
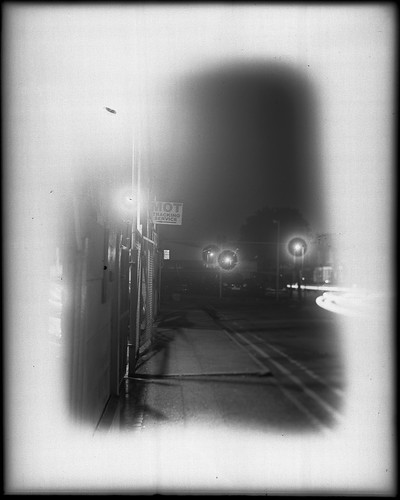
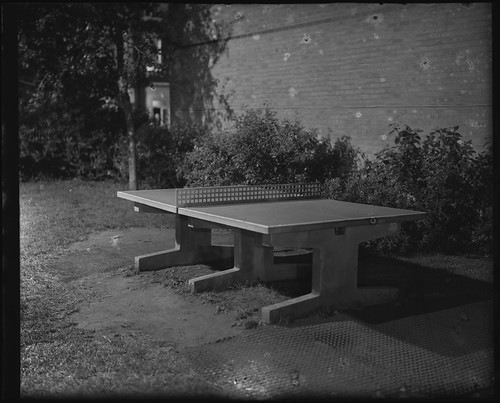
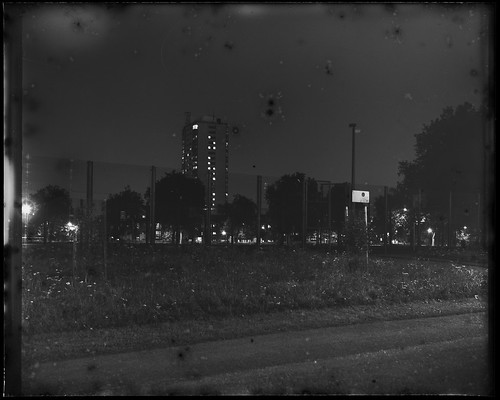
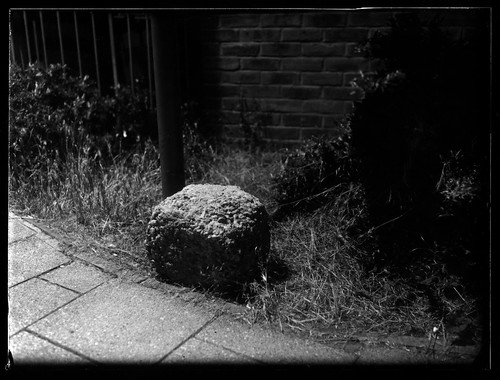
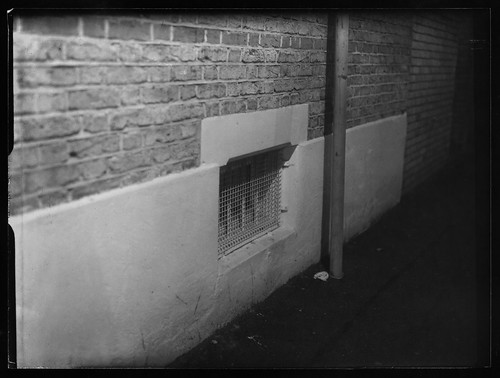
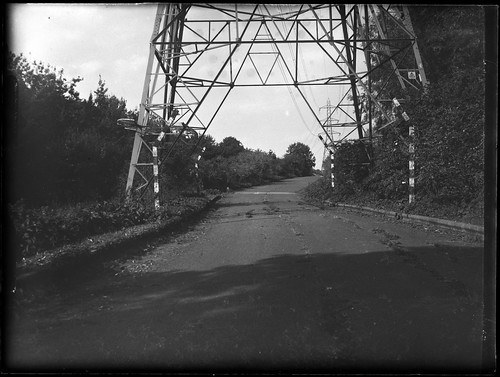
The test above shows that the plates are quite low in contrast, but there is little age deterioration beyond a loss in sensitivity. I rated the plate at 40 EI with three successive exposures, giving effective exposures of 40, 20 and 10. I shot some of the HP3 plates at night with my Voigtländer Avus where the low contrast was an advantage, but having three boxes of 36 plates, I was happy to divert some of the plates from my night photography project, and shot some with the Ica Trona handheld, rated 50, which I used to illustrated my post on the camera.

Ilford HP3 9x12cm plate, shot with Voigtländer Avus
Ilford HP3 9x12cm plate, shot handheld with Ica Trona 210
Sources/further reading
Company details from Early Photography
Ilford Chronology on Photomemorabilia