Showing posts with label expired film. Show all posts

Sunday, 17 April 2022

Workers Not Leaving The Factory (Once More)

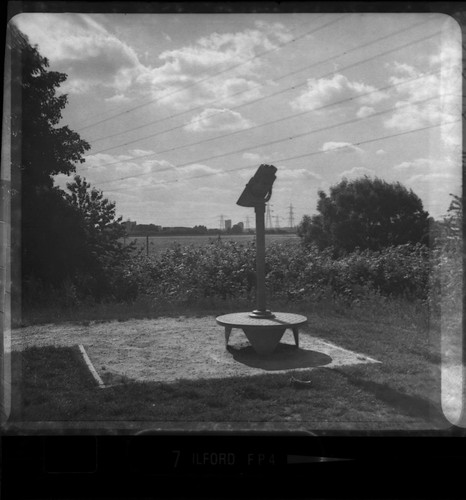
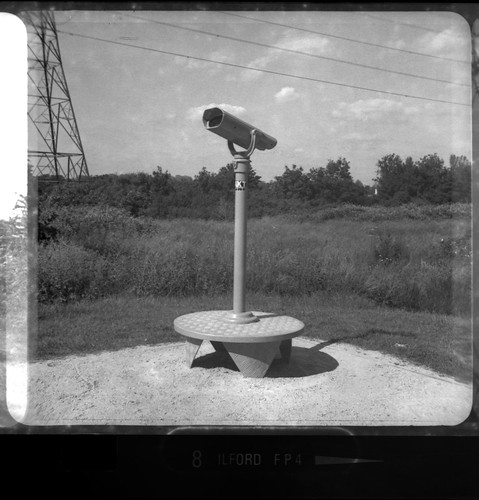
Two years ago, I made a very short film called 'Workers Not Leaving the Factory'. The rationale for this was to record moving images onto Ilford film of the sites of the Ilford’s Britannia Works factory in the town of the same name, identifying two locations that would have been exits from the site at the time that the Lumière brothers filmed La Sortie de l'Usine Lumière à Lyon, its title variously translated into English as Workers Leaving The Lumière Factory in Lyon, Employees Leaving the Lumière Factory, or Exiting the Factory, the first film to be projected in front of an audience, at the Société d'Encouragement de l'Industrie Nationale, on 22nd March 1895. Last year I had the desire to revisit this, 125 years to the day on which the Lumières’ films were first shown to a paying audience in London, but did not do so due to the pandemic restrictions in force on that date. Instead, I made a rather imperfect contact print of the first film to project it at home, alongside a digital projection from a webcam that provided the nearest possible view to those which I had filmed, a visual representation of how the moving image and its dissemination has fundamentally changed the experience of time and space, echoing Patrick Keiller’s desire to make a film of “distant landscapes […] without leaving home.” This was 'ADDITIONAL POURTRAYALS [sic]', the name derived from a phrase in the original programme for the Lumières’ first exhibition of the cinématographe in England, in which I speculated, that, although La Sortie de l'Usine Lumière à Lyon was not named as one of the films shown, it could have appeared as one of these ‘ADDITIONAL POURTRAYALS’.

ADDITIONAL POURTRAYALS [sic]
The original Lumière programme appears in reproduction in a souvenir booklet produced for an event in 1936 to mark forty years since the first public exhibition of the Lumières' Cinématographe in London at the Polytechnic on Regent Street. As well as recreating the Lumières' original programme of short films in the same institution (which now boasted a School of Kinematography), there was also an exhibition showcasing the history and development of the technology of moving pictures, with a number of manufacturers keen to display the very latest advances. Among these were Ilford and Kodak Ltd: Kodak Ltd had a number of Ciné-Kodak cameras and projectors “Showing how Cine Kodak has advanced since introduction in 1923” with dates: the last camera listed is the “Cine Kodak “BB” Junr. f3/5” from 1930. Subsequent to 'Workers Not Leaving the Factory', I’d acquired a Ciné-Kodak Model BB Junior, but that with the faster f1.9 lens. In the exhibition, Ilford showed Dufaycolor, frame enlargements from 9.5mm Selo film and also the “ILFORD CINE SERVICE. Showing processing and control of 16 mm. and 9.5 mm. Ilford Cine Films”. Ilford stopped manufacturing ciné film many years ago, and when making 'Workers Not Leaving the Factory', specifically to shoot this on an Ilford emulsion, I cut FP4 Plus film down to 16mm, unperforated of course, but was able to use this–not without problems–in a Bolex 8mm camera. 

Ilford Fast Pan 16mm Film
For an Ilford motion picture film stock to use in the Ciné-Kodak BB Junior camera, I’d found a couple of 100ft rolls of 16mm Ilford Fast Pan film. On the labels of both there is a stamp "date of test 6.1.69", meaning that the film would almost certainly have been made at the Britannia Works site in Ilford before production there stopped in the mid-1970s. This is very reminiscent to the Ilford Mark V film I used a few years ago, presumably being an emulsion test; when researching that particular film stock, I found a suggestion that this lead to the fifth iteration of Ilford’s HP film, currently HP5 Plus today. It’s possible then that the Fast Pan film could be a version of the FP emulsion, although in the original FP film, the letters stood for Fine grain Panchromatic.

Roden Street, Ilford
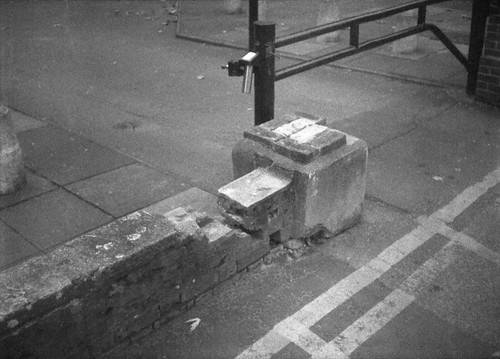
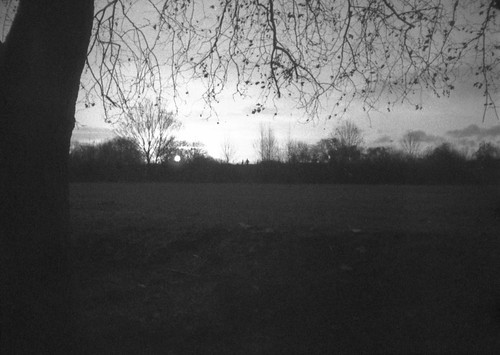
Unable to revisit the Ilford sites in February 2021, enacting 'ADDITIONAL POURTRAYALS [sic]' to mark the date instead, I did then return last year as soon as the general 'stay at home' order was lifted on 29th March. I shot the Ilford Fast Pan film where it was originally manufactured in the Ciné-Kodak BB Junior–and subsequently did not develop the film for several months, until very recently, almost a year since the film was exposed. The Ilford Fast Pan film labels do not specify a film speed, and over fifty years since being made, I supposed that the film would have lost sensitivity regardless. My initial tests showed the film had a lot of fog, and I shot the film at an exposure index of 25. 

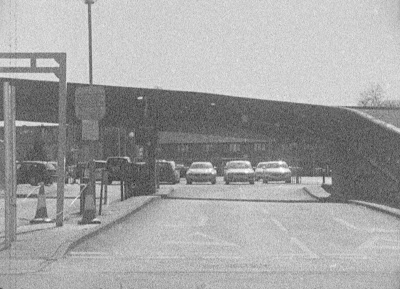
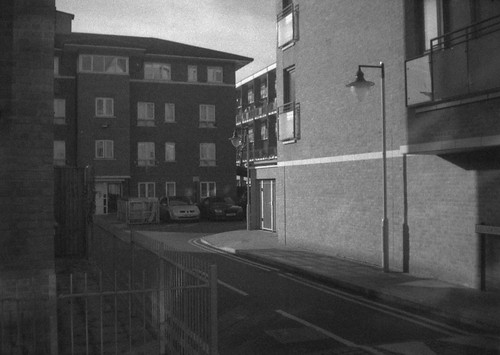
The Ciné-Kodak BB Junior takes 50ft daylight loading spools, which equates to around 2 minutes at the camera’s frame rate of 16 frames a second. When I filmed 'Workers Not Leaving the Factory', as the 2x8mm format requires the film to be passed through the camera twice, there was a logic to shooting two separate scenes, between which the film needed to be unloaded from the camera, the spools flipped over and then reloaded to shoot the second side of the film. In doing this, I chose the locations where two entrances to the Britannia Works site had been, having researched the site history in some detail in 2013. The first location was the entrance to Sainsbury's car park on Roden Street, the other a section of brick wall on Riverdene Road, which appears to align with what was once the entrance to an alley that led into Britannia Works. The Ciné-Kodak BB Junior runs for just over 30 seconds with its clockwork motor fully wound, this would determine the duration of each scene: I assumed that I would then get four different shots on the 50ft spool; in the event, there was enough film for five scenes, partly due to unloading the camera after shooting in the dark (the footage indicator on the camera suggests that there’s about five feet of film after the zero mark which would usually be exposed when removing the film from the camera). 

Riverdene Road, Ilford
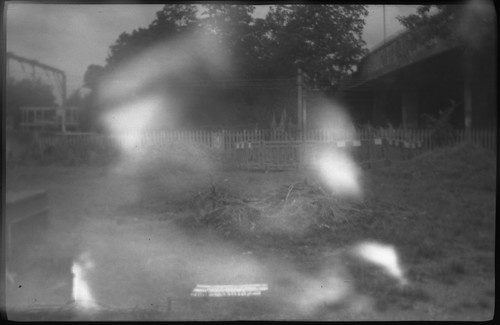
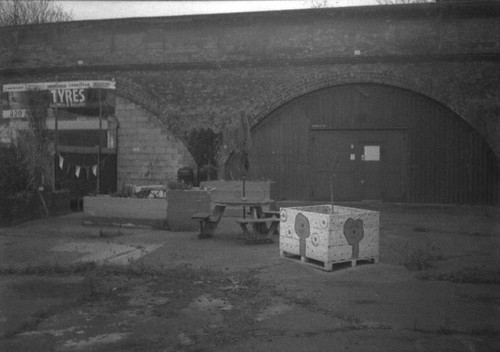
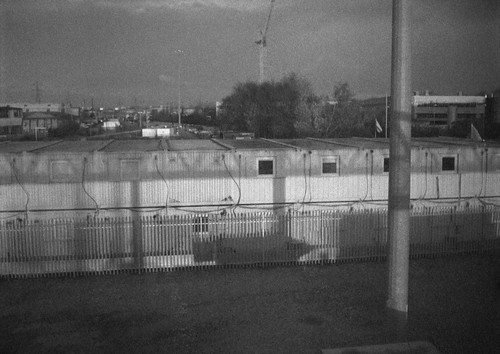
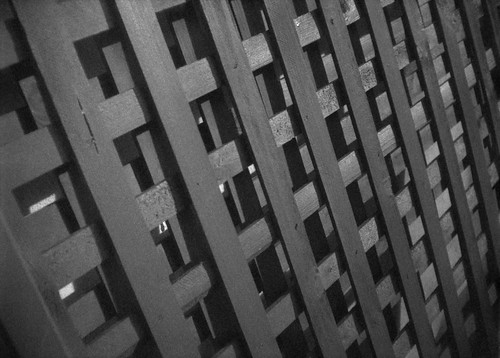
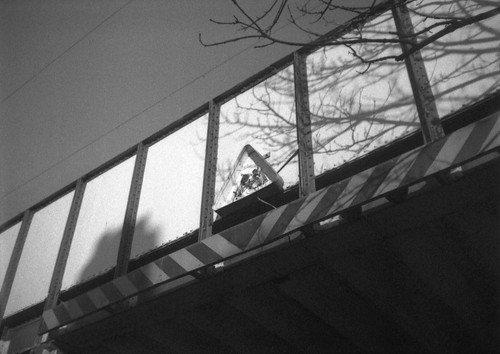
I filmed the same two locations as in 'Workers Not Leaving the Factory' for the first two shots. The next two sites where those related to 'ADDITIONAL POURTRAYALS [sic]': the CCTV camera which records the scene that I had projected digitally, and then I pointed the BB Junior in the same direction as this CCTV camera, but from the ground level of course. This viewpoint was as close as I could get to the scene of the Britannia Works site remotely: at some point in the evolution of Ilford’s sprawling site, it might have been possible to see part of it from here, namely the skating rink which Ilford rented in the 1930s. Reading accounts of the history of early film in Britain in In the Kingdom of Shadows recently, I couldn't help noticing that the cinema was linked to skating in a couple of accounts, usually in the nature of popular fads or crazes:
“SEVERAL EXPLANATIONS have been given of the bad theatrical business in the provinces, reports of which daily reach the managers most concerned in sending out companies. […] Mr. George Dance, who has as much experience of the business side of the theatre as anyone in England, is inclined to think that the comparative effect of cinematograph shows and skating rinks has been exaggerated.”
The World’s Fair, 30 October 1909

“AT THE PRESENT MOMENT the popularity of picture palaces and the reason for it are directing a good deal of attention to the public mind. But these sudden crazes are not new: 30 years ago it was croquet, 15 years ago it [was] cycling, ten years ago it was roller skating…”

The Times, 9th April 1913

Site of Alfred Harman's house, Cranbrook Road
With the nominally-50ft roll not entirely used up, I went to the site of Alfred Harman’s house on Cranbrook Road, where Harman first coated glass plates in the basement, the very beginnings of what would become Ilford, Limited. When I developed the film, I used the developing times for Ilford FP4 Plus with Adox Adonal, an iteration of Rodinal. The developing tank I have been using for 16mm is really designed for 2x8mm: a normal 2x8mm camera roll is 25ft, but, with enough film for a leader and trailer, usually removed after processing, the actual length is closer to 33ft; this does still mean that a 50ft daylight spool has to be developed in two parts, if not strictly halves. The cut appears part way through the third scene shot, spliced together again after developing. 
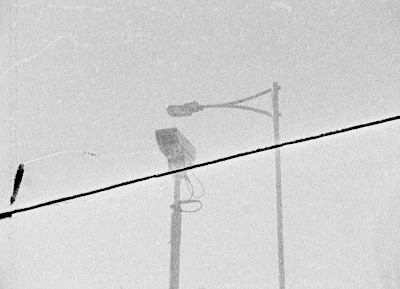
Cut between two lengths of the film developed separately
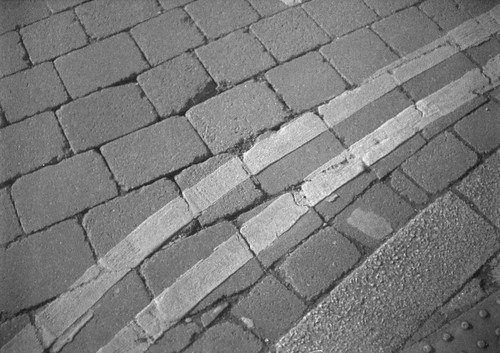
The direction of the film through the camera means that the second half of the film was first to be developed first, for which I used a dilution of 1+50 for 15 minutes; the negative looked dense, so I reduced the time for the second half of the film to 12 minutes, which possibly could have been cut further (subsequently using the Ilford Fast Pan film, I’ve rated it at 40 or 50 rather than 25; in the image above it's just possible to discern that the image is brighter, thus the negative is denser, below the cut.). The nature of the film's age and overexposure and/or overdevelopment is that the images have quite pronounced grain as a result. Having developed the film by hand, the cleanness of the process itself could clearly be improved. In addition, by letting the camera’s motor run down entirely while exposing the film is that the frame rate slows close to the end, before the motor stops, with the result that the exposure time increases, the image getting brighter at the end of each scene. With the methodology determining the location and duration of each shot, anything happening in front of the camera was at the mercy of what Siegfried Kracauer would describe as ‘the contingency of the street’: the entrance to the supermarket car park and the road underneath the A406 flyover inevitably provided movement; the CCTV camera was shot hand-held, and a bird can be discerned flying through the shot at one point; the brick wall on Riverdene Road is only animated by subtle signs of the wind in the netting on the scaffolding which appears in the corner of the frame and the shadows from a tree on the right. Movement is also provided by the lack of stability of the frames and the vibrations the camera itself is subject to as the motor unwinds, rotating the shutter, pulling the film from supply to take up spool inside the camera, the intermittent motion briefly pausing its travel at the film gate for sixteen exposures every second.

'With Workers Not Leaving The Factory', showing the two individual frames next to each other had a logic thanks to the nature of the 2x8mm film format. In 16mm, there was a coherence to keeping the revisited scenes in juxtaposition; with the following shots as an angle-reverse angle pair, this had also had a reason to be placed together after the first two. The fifth shot I discarded.

Sources/Further reading:
Colin Harding and Simon Popple, In the Kingdom of Shadows, Cygnus Arts, London 1996
Patrick Keiller, 'The Robinson Institute', The View From the Train, Verso 2013
Siegfried Kracauer, Nature of Film: The Redemption of Physical Reality, Dobson Books, 1970


Monday, 19 July 2021

127 Day July 2021

Vest Pocket Kodak Autographic with Ilford Selochrome
127 Day is one of the film-themed calendar days which I endeavour to observe, especially in its July iteration. This year I had two rolls of Ilford Selochrome 127 film, both dated September 1970, and I chose to use the Vest Pocket Kodak Autographic camera, having not used this for a few years (had I thought about it, perhaps I should have used it last year, to mark a hundred years since my particular model had been made). I'd previously realised that the camera didn't quite focus on infinity (the camera itself is fixed-focus, but the lens seemed to be set much closer than infinity), and prior to using it last Monday, I had thought to attempt to work out how far from the film plane the lens should be positioned to achieve infinity focus. As the lens is erected on scissor struts, it might be possible to not fully pull out the lens and achieve this. I roughly calculated this to be around 4-5mm. I cut a piece of card to the length of the distance between the camera body and the front standard, so that, in theory, I could pull the lens board out from the body, then push it back in to the piece of card as a guide.

127 format Ilford Selochrome

In practice, this wasn't so easy. It was difficult to push the lens board back in toward the body equally on both sides and keep it parallel to the film plane; it also had a tendency to work itself back towards being closer to fully pulled out, due, I imagine, to the spring of the struts. Nevertheless, I persevered with this approach. The Ilford Selochrome film was originally rated 160 ASA; I generally shot it at 1/25th 'wide' open at f11, or used it for longer exposures stopped down to f22 balancing on walls or railings where I could. Conditions on Monday were heavily overcast, not ideal for using such an old film in a camera with a slow lens. The weather had been a little brighter earlier in the day, but by the time I left the house a mass of dark clouds was looming, and this was the weather front that caused flash flooding later that day in London, the same weather system which caused catastrophic floods in Europe a few days later.
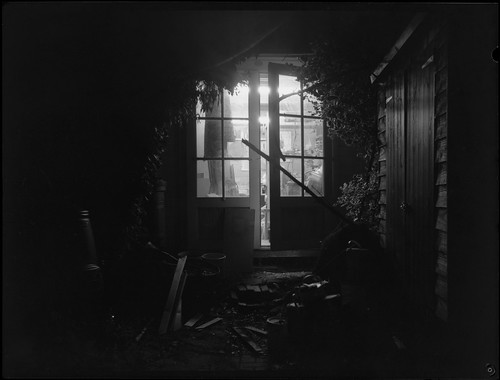
Vest Pocket Kodak Autographic with Ilford Selochrome

I shot both rolls and semi-stand developed these in Ars Imago #9 for an hour at a dilution of 1+100. When I took the films out of the wash, it was immediately evident that on top of the focus issues, the negatives clearly showed that the bellows had light leaks. When I first used the Vest Pocket Kodak I had more or less repaired these with applications of acrylic ink to the rather worn corners of the bellows. Although I'd hardly used the camera since then, clearly this hadn't been a permanent fix and had deteriorated over the years. The length of time the bellows were extended was the main factor as to how intrusive these light leaks were, the image below being the worst; obviously, the time taken with fiddling around with the distance of the extension of the struts to try to get the lens in focus meant that this longer than using the camera 'normally'. Only a couple of frames seemed to largely escape the light leaks. Some frames also had a few losses of emulsion (seen in the image above), not entirely surprising given the age of the film, and the negatives had a pronounced curl, making scanning less easy than it might be, as well as an added difficulty in loading the tank for developing.

Vest Pocket Kodak Autographic with Ilford Selochrome

Once scanned, it was clear that my attempts correct the focus with the Vest Pocket Kodak had not been that successful. In the image below, a stray tip of grass at the bottom of the frame is the only part of the image in focus. I think this was where the lens board had worked itself back towards being more or less fully extended; I probably would not have been able to get this result if I'd tried, and despite the light leaks in the frame, the result wasn't entirely unsatisfactory.

Vest Pocket Kodak Autographic with Ilford Selochrome

Overall, the best frames were those where I stopped the lens down, and used the B or T settings, placing the camera on a wall or railing for exposures ranging from 1 second to something like 12 seconds for the image at the top of the post, probably the best from the two rolls of film, which has just a hint of shake given how difficult it was to keep the camera completely still. Using the Vest Pocket Kodak meant that I got eight frames on a roll, and I did try two or three frames for a couple of the subjects, given all the problems with the camera. In retrospect, perhaps I should have used the films in a different 127 camera, such as the Baby Ikonta, which would have given me twice as many shots; the film itself was an unknown quantity, I had no idea how this had been stored in the decades since it had been manufactured, but the near-pristine condition of the boxes was a hint that the Selochrome might still give good results, as it did, despite all the problems with the Vest Pocket Kodak.


Saturday, 19 June 2021

126 Day June 2021

Kodak Instamatic 277X with Ilford FP4
By a quirk of Kodak's practice of re-using its obsolete format codes when designating the new easy-load drop-in plastic cartridge, calendrically, 126 Day follows on immediately from 116 Day in June. I'd picked up a 126 cartridge of Ilford FP4, with a develop before date of February 1974, which I shot on the day; I hadn't reloaded any cartridges with 35mm film as I had done on previous years, so had just 12 exposures in the FP4 cartridge. Having used quite a fair bit of FP4 film from the 1970s, I was fairly confident that I'd be able to get acceptable results from the film, and, as with the Verichrome Pan on the previous day, I didn't bracket any of the exposures.

Ilford FP4 126 cartridge
For the camera, I used the Kodak Instamatic 277X that I've used previously, for the fact that it's got a wider range of adjustable apertures than most Instamatics. With only weather symbols to indicate the aperture settings, using the five-decades-old film, I compensated by generally choosing a setting two symbols wider (or darker) than the conditions indicated: for example, with a subject in bright sun, I set the aperture to the 'light cloud' pictogram, which worked well enough apart from a few frames in relatively deep shadow. In terms of subjects, with more time than the 116 Day before it, I simply followed a cycle route around my local area, one of the loops I'd found for my allowed exercise during the first lockdown last year, and indeed, this was some of the same route I'd taken on 116 Day in 2020.

Developing the film, I used the standard time and temperature for modern FP4 Plus, 15 minutes in Ars-Imago #9 diluted 1+50 at 20ºC with normal agitation. I had intended to re-use the plastic cartridge (in part due to the late 1960s/early 70s 'sunburst' Ilford symbol on the label), but even after repeated scoring with a knife, this proved too difficult to take apart cleanly, and it broke in the changing bag while attempting to do this. The spool and attached 126 backing paper were salvaged in the process however: when re-used with 35mm the backing paper can end up getting somewhat ragged after a few rolls. As an aside, on the leaflet which came in the box with the film, there are instructions for home processing, with a pair of illustrations on how to break open the cartridge (figures 1-3 on the first side of the leaflet show loading, advancing the film, and unloading).


Scanning the negatives, it was clear that the emulsion had reacted to the backing paper–this showed up nicely in the rebate at the lower edge of the film where the shape of the long hole with its rounded ends is imprinted into the film (this doesn't match up with the single perforation for each frame as it's where the emulsion has been in contact with the back of the backing paper while rolled together). This reaction has caused a certain amount of mottling across the film, but, with enough exposure, in some frames it's hardly visible and only really shows in larger areas of smooth tones, such as the sky. The pre-exposed 126 frames also vary: on denser negatives, these begin to disappear; on thinner negatives, or with larger areas of shadow, these frames are much clearer. I chose not to crop the scans of the film, instead showing the whole width of the film, pre-exposed frames, perforations, rebate and frame numbers, and the overlapping edges of each exposure: the frame below shows all of these, the mottling and the backing paper hole too.


Last year, I'd shot a cartridge of 126 Verichrome Pan, and had used a yellow filter for the entire roll; many of the shots this year would have benefitted from the same, as the conditions were sunny and a number of frames had areas of sky with some light fair weather clouds; potentially a yellow filter might also have lightened the tones in some of the foliage, something I didn't consider until part of the way into the film, having left home without thinking I might need a filter. The other error I made was in not ensuring that the flap of the plastic every-ready case was always entirely clear of the lens, having it intrude into the bottom part of the image in a couple of frames.


Comparing these frames with those on Verichrome Pan from last year also brought up something which seems like a oddity in the manufacture of these 126 films: the pre-exposed frame lines do not appear to be a single exposure all around the nearly-square image, but an operation performed in (at least) two steps. The exposures for the horizontal and vertical frame lines clearly overlap; the horizontal lines at the top and bottom edges of the frames look continuous for the whole length of the film, while the vertical frame lines extend from the top edge of the film but do not entirely meet the lower edge of the bottom horizontal frame line, stopping a little short. I did reflect that possibly the exposure of the vertical frame lines could have been linked to a stepping motion at the same time as the exposure of the frame numbers, with an ascending counter linked to the position of the perforation hole. This is relatively easy to discern in the image below, one of the frames that has a lot of shadow areas around the edges. Last year's cartridge of Verichrome Pan shows the same overlapping pre-exposed horizontal and vertical lines. 


Overall, the FP4 came out reasonably well considering its age, some frames did need more exposure, and some carelessness on my part notwithstanding with the camera case, as well as overlooking using a filter. Thirty-odd years ago, had I dropped the cartridge into Boots for processing (as I did when first photographing with a handed-down Instamatic) I'd no doubt have received my twelve square prints with a sprinkling of advice stickers on them.

Saturday, 5 December 2020

Three Colour 8mm Film

Three-colour process still

In writing a blog about film-based photography, there is always an unacknowledged (or perhaps underacknowledged) implicit understanding that any results are, by the nature of being shared digitally, a hybrid form. For some reason, I find this to be most acute in the moving image: the presence of the sheer physicality involved in projecting moving film becomes utterly absent once transferred into a digital form. The difference between a flat photographic print from a negative, and a screen-based display of that negative (whether scanned direct, or from a darkroom print) is great of course, but there is much recognisably the same about the experience of viewing (which, equally, is not to dismiss the real differences too). With physical moving images, the very apparatus of display plays a part in the viewer's experience; in the cinema, this is hidden from view, but in many other instances, the presence of the projector, screen, the sheer amount of material - reels of film, needed to kept, controlled as reels - impinges, bodily, on the viewer. This physicality has become somewhat fetishised in the visual arts: when shown in art galleries, films projected on 16mm or 35mm usually depend on the projector (and all the mechanisms for looping the film too) being present in the viewer's space.

A different kind of fetish is present when displaying such films in a digital form (something I am not immune from): the signs of the film's materiality, frame edges, perforations, dust and scratches - indeed, the very instability of the image, revealing that the apparent movement is comprised from numerous still images - are there as a guarantor of that materiality. I had been thinking of a way to use this digital hybridity in a playful way, that, in creating a digital version of a physical artefact, there was something more to use this for other than its convenience.  Last year, my interest in the three-colour process had been reawakened after assisting a student in creating images using the method, making colour images from three separate black and white negatives, shot through red, green, and blue process filters. I shot some still images with the Mycro IIIA a year ago using the technique (not posted to this blog), but also shot a short length of 8mm ciné film using the three colour filters.

Canon Cine Zoom 512 - Middlesex Filter Beds; Rollei 16 with Eastman Double-X film

For this, I finished the end of the roll of Orwo UP15 film that I had used for a number of other, very short films (Heatwave, Swinging Light), spooling off the shorter lengths as needed for each of these (I had also used a fair amount of the film for still photographs with subminiature cameras, notably the Mamiya 16 Automatic). This had a 'develop before' date of March 1976; using the film previously, I found an exposure index of 10 provided good results. I shot the film with the Canon Cine Zoom 512. Using a tripod, and a full wind of the motor, I framed the shot, depressed and locked the shutter release, and then held the red, green, and blue three-colour separation filters in front of the lens, for about 8 seconds each as the film ran through the camera continuously. I think that I may have shot the film at 8 frames per second in order to provide a slower shutter speed for the light needed to expose the film through the filters; the digitised footage itself plays at 12 fps. To compensate for the reduction in the transmission of the light through the filters, I metered the scene, then opened the aperture two stops. This meant that the sections of the footage in between the filters is over-exposed, and the section with the blue filter is underexposed, as the process blue filter transmits less light than the red and green filters.

For a subject, I shot the film at the Middlesex Filter Beds (a unintentional reference), with the thought that the three-colour process would record the autumnal colours. This was not entirely successful as I was probably shooting it too early in Autumn, in mid-October - and with the blue-filtered section underexposed, the colour record would not be very accurate (it might have been possible to open the aperture one stop further at this point, but not especially practical, doing the whole operation with one one pair of hands, passing filters one to the other after holding each one up in front of the lens). I then developed the film as negative in Ilfotec LC29 diluted 1+19 for 6m30s at 20ºC. This was over a year ago; only recently did I have the film scanned.

As 2x8mm film is 16mm-wide and run through the camera twice, I shot the sequence twice. However, I didn't use a changing back when removing the film spools and turning them over to shoot the second side (the 2x8mm film format is designed to be daylight loading, but this does mean sacrificing either end of the film on the spool in loading and reloading, not a problem when using a whole roll, and taken into account by the manufacturers of both film and camera; a different matter with a 'short end' such as I was using here). As I result, although I didn't realise it at the time of shooting, the first run of the film through the camera entirely lost the frames with the third filter in being exposed to the light. The second run of the film through the camera was more successful, but the section with the third filter was on the very end of the film, which includes the identification code of the film stock, punched through the film itself. This section of the film would usually have no images on, as it would be exposed on loading and reloading; I unloaded the film from the camera in the changing bag before developing.

In the resulting black and white film (above), on casual viewing the section with the red and green filters do not look especially different, except perhaps in the sky; the blue section is clearly darker, but also much lower in contrast. I composited frames from the scanned film in Photoshop, placing each black and white image into the red, green, and blue channels in the RGB colour mode.

RGB composite from the black and white negative scan
I had the 2x8mm film scanned as 16mm, i.e., the whole width of the film between the perforations, rather than having the film spit into two 8mm widths; as a negative, the film itself would not be projected anyway, so there is no need for it to be split as would be the case with film developed with the reversal process to make a positive transparency. As can be seen from the image above, the first run of the film through the camera, upside down on the right is a composite of incorrectly-filtered sections (the same colour filters do not align on each side of the film, and the blue-filter section on this run is also missing).

In creating a full-colour composite, I could have simply edited the film to a few seconds, aligning the three sections shot through the three different filters. Instead, I wanted to show the process as a set of logical steps, and, as the length of the whole film is just twenty-seven seconds when played back at 12fps, this could be repeated through each step. With the film was scanned as 16mm, as well as the width of image, the height is also over twice that of a standard 8mm frame, meaning that it shows two whole frames on both sides of the film. Repeating the film three times across the frame, I decided to keep the height of the original scan as this avoid making the proportions of the whole frame too long and narrow.

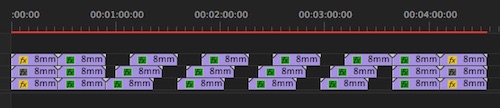
To show the process that achieved the colour image, I wanted to stage a set of logical progressions such as it might be possible to intuit how the colour image is created from a strip of black and white film without it necessarily needing an explanation (this particular post notwithstanding of course). The first repetition shows the film, in black and white, repeated in sync across the width of the screen (I could possibly have begun the series of repetitions as a black and white negative, but this seemed unnecessary); the second repetition, still in sync, shows the film in red, green, and blue. The next repeat then staggers the starting times of the red, green, and blue segments so that the point at which the correct colour filter appears in each coloured section is now aligned temporally. Repeated again staggered in time, the three colours spatially align on the the screen at that point to create the colour image. Remaining overlaid, each staggered coloured section runs to its end. The steps are then repeated in reverse, ending up back at the black and white footage, and in theory this could then be looped in on itself. 

A screen shot of the timeline in Premiere shows the way that the sequence of progressions is arranged. Although created in a digital form, it would be possible to recreate the result using three prints of the film, three projectors and the RGB colour filters in front of the right lenses; some of the earliest colour moving images used a not dissimilar concept, but on a single strip of film, with alternating frames shot through different colour filters, which would then be projected back through those filters to create an optical mix. The film (below) is essentially just an experiment intended to demonstrate - but also disclose - the technique itself.


Sunday, 27 January 2019

#FP4Party January 2019/Revisiting the Butcher's "Cameo"

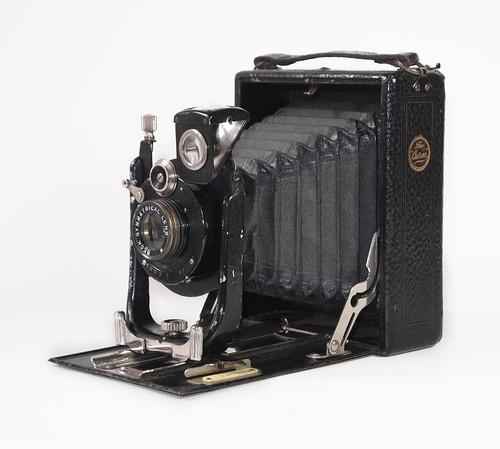
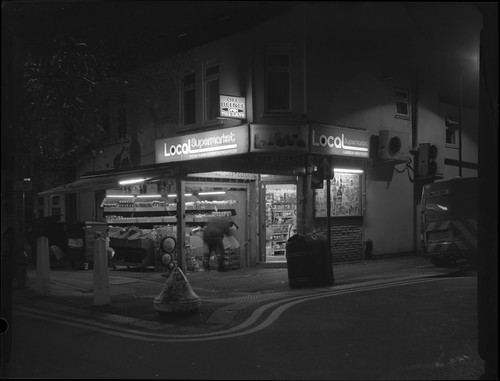
Ilford FP4 shot on Ilford FP4 with Butcher's Cameo and close up lens attachment
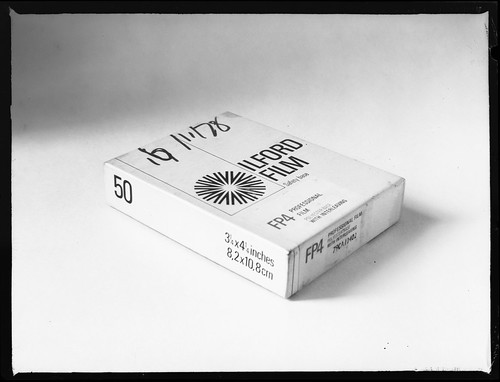
When choosing a camera for January's #FP4Party, a clear deciding factor for me was already having a fair stock of quarter-plate (8.2x10.8cm) FP4 sheet film. With one part or mostly used box of 50 and one unopened box, I decided not to buy any new rolls of FP4 and use this instead. Both boxes have a handwritten date of 16/11/78 (one box looks like it starts with 17/- which was then changed to 16); the film dates to well before the 'Plus' iteration was introduced in 1990 but I've previously used it with just one stop of extra exposure to compensate for age (I have also shot it at an exposure index of 100, and pushed the development by one stop instead). Possessing three cameras for the format: the Klito, Midg, and Cameo, all plate cameras, all of a similar age, over a hundred years old, I picked the Cameo, having used it for the first #FP4Party in September 2016, being the smallest and lightest of the three, and it seemed time to revisit it for this month's #FP4Party.

Butcher's and Sons "Cameo"
I restricted myself to expose just two sheets a day over the 'shoot week' (although on the first day I actually shot three sheets; I also didn't count the shot of the FP4 box in the total, but it made sense to photograph this on the film itself, using the lens attachment, during shoot week). Low light and short daylight hours in the northern hemisphere in January do not make for using a film rated at an exposure index of 50 necessarily sympathetic. In addition, using the Cameo handheld is not without a number of difficulties. Not entirely trusting the focus scale on the drop bed, to focus the camera using the ground glass screen requires one to use the spring clamps to position the front standard at the correct distance on the rails of the drop bed: it needs a certain amount of dexterity to put one's hand in such a way to move the front standard without obscuring the image on the ground glass with it: I miss rack-and-pinion focussing with the Cameo, particularly when using it hand-held.

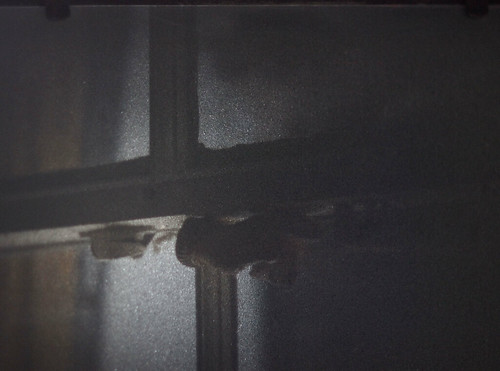
Home-made ground glass screen; lens wide open
Even in relatively bright light, the Cameo's Beck Symmetrical lens produces a dim image: its widest aperture is nominally f8 (although it's most likely f7.7 when fully open beyond the f8 mark), slow by modern standards, and the screen is missing its hood to shade the ground glass, making this image difficult to assess. The ground glass was missing from my camera when I acquired it; I replaced this with some glass that I ground myself, but used too coarse a grade of grit, which adds to the difficulty in focussing. Once the image is in focus (as close as one can tell) on the ground glass, one then has to remove the focus screen and replace it with a plate holder, adjust both aperture and shutter speed to the desired settings, remove the darkslide from the plate holder, then frame the subject using the brilliant finder - and then gently press the shutter release lever. The Lukos II shutter has three 'instantaneous' speeds of 1/100th, 1/50th and 1/25th, and, while it would have been possible to get usable exposures at 1/25th, wide open on f8, for overcast, dull days, I only used the Cameo hand-held on a couple of days (Tuesday and Friday) when there was some winter sun, partly to use smaller apertures in the hope that a greater depth of field might compensate for any errors in focus.

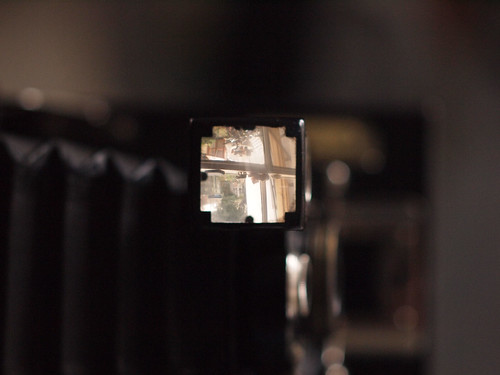
Brilliant finder on the Cameo
For most of the shots during the week, I used a tripod or simply balanced the Cameo on a flat surface for long exposures, low-light shots, interiors and those at night. I also used the wide angle/close up lens attachment for some shots (Friday and Saturday) and the image of the box itself. I did my first batch of development during the shoot week rather than the 'development week' that followed. This acted as a check on my exposure and development regime: the first batch of film I developed with a one-top push - on top of the one and a third stop extra exposure - but developing the first few sheets appeared to show that extra development was unnecessary and the rest of the week's shots were developed in RO9 One Shot for the recommended time, 9 minutes, at a dilution of 1+25 at 20ºC.

Revisiting the Cameo, the quality of the results from the shoot week varied. Some of this was down to user error of course; other aspects were to do with the camera's limitations. When using the wide angle/close up lens attachment, there is clear vignetting, with a falling off of both illumination and definition towards the edges of the frame. This is less obvious when used as a close up attachment, as the lens' image circle would be wider the more the bellows are extended; when used as a wide angle attachment, the bellows are extended less than normal, making the image circle smaller. As well as the difficulties of focus set out above, there were also problems with film flatness (notably visible in the middle of the shot from Saturday); this might be due to the motley group of film sheathes I've been using, with some clearly home made, and others professional: some fit the sheet film better than others. The film itself stands up remarkably well: over four decades old, with only a little loss in sensitivity, the quarterplate-sized FP4 is still very usable.

Monday
Tuesday
Wednesday
Thursday
Friday
Saturday
Sunday

Sunday, 24 December 2017

FP4 Half-Frame Diary

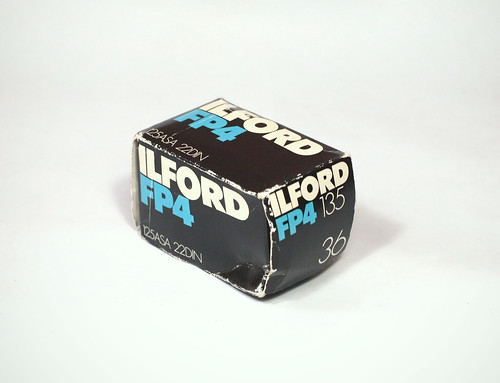
Ilford FP4, develop before date January 1991
A few months ago, I was given a roll of Ilford FP4 with a 'process before' date of Jan 91; this roll predates the introduction of the 'Plus' version of FP4 from 1990. The film itself was probably made in 1988-89, given 24 months or so between manufacture and 'expiry'. Looking for a reason to use the film, the announcement of the return of the #FP4Party for December provided the excuse if one was needed; last year, this was held three months in a row, although I only shot the old version of FP4 on one of the designated months in sheet film from the 1970s with the Butcher's Cameo.

Ilford FP4, develop before date January 1991
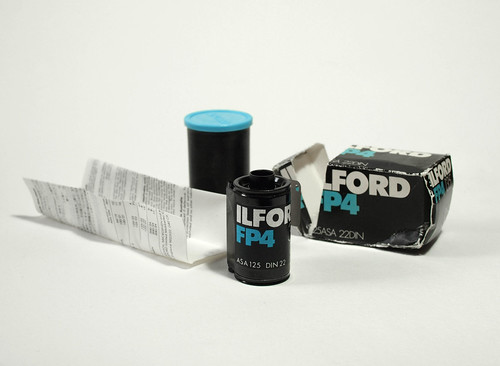
Inside the box, the plastic tub that the film was in has a blue top: Ilford films used to have colour co-ordinated tops (I mostly remember the red XP2 tops from the late 1990s to early 2000s, as this was the film I probably would have shot most). The metal film canister itself has easy-to-remove lid (making it easier to re-use), and the developing information is printed on a separate leaflet rather than inside the box.

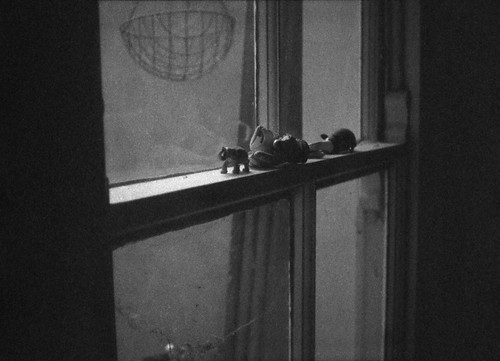
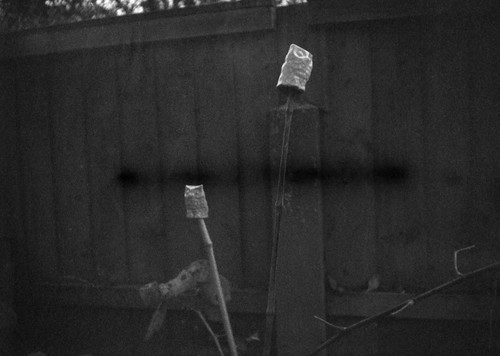
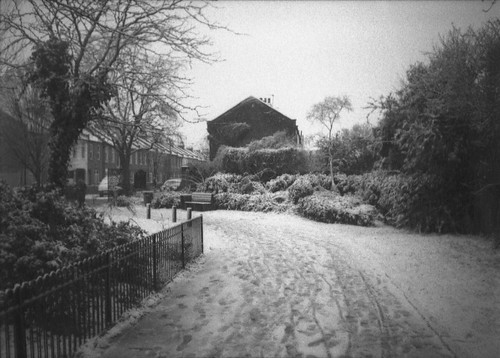
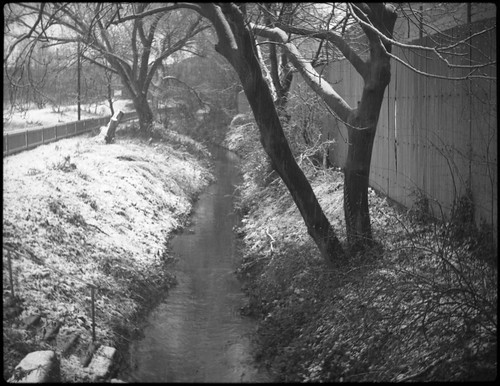
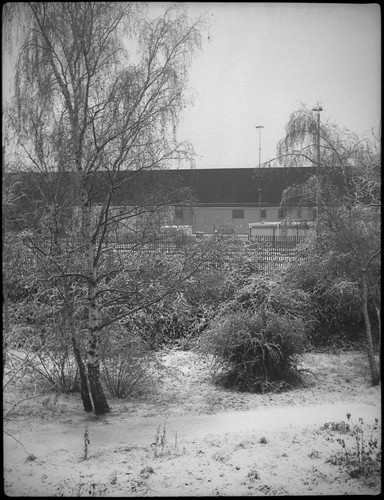
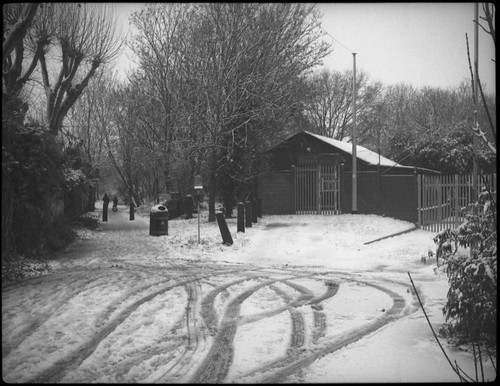
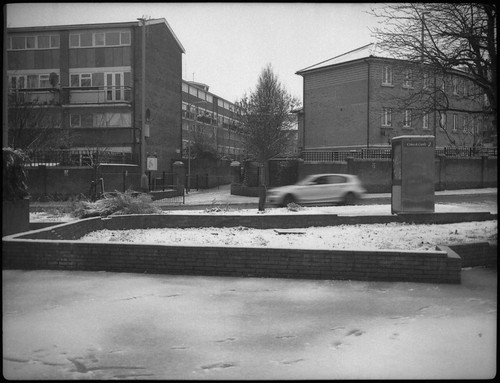
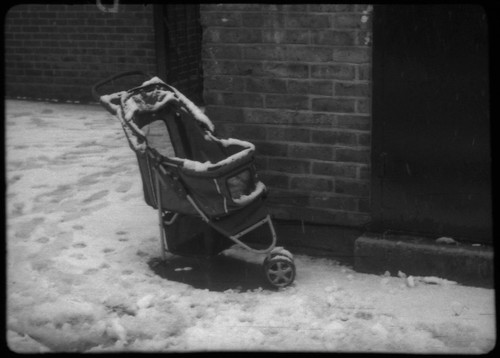
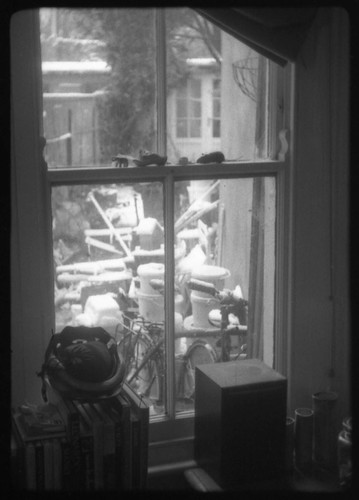
I chose the Belomo Agat 18K; as a half-frame camera, I could get twice the number of shots (72) with it. This gave me the idea to shoot the film throughout the week - ten shots a day - like a diary of sorts (the idea of a half-frame diary dates back to when I was a student, learning about the 35mm half-frame format from a photography tutor, Mick Williamson who used an Olympus Pen for his photo-diary; later, I found an Olympus Pen EE3 and used this for a number of years, with a similar idea, although without any strict rigour). To compensate for age, I exposed the roll at EI 64, and also developed it as if rated 200, giving it an effective 2/3-stop push. Development was with RO9 One Shot, diluted 1+50 for 20 minutes at 20ºC. The results appear to show I was a little optimistic about how well this particular roll had lasted - the negatives were mostly very thin and grainy - and would no doubt have been better exposed at 25 (there were also a number of horizontal marks, as seen in the second image below, where the emulsion seemed to have failed to react to the exposure, showing up every few frames, but fading away after the first dozen or so). During 'shoot week', a combination of short daylight hours and very overcast weather conditions proved challenging when shooting the film with available light when rated 64, and many of the photographs were taken with the lens wide open at f2.8, and show up my guess focussing to be not always as accurate as I might have liked. I did attempt to use flash for a few shots - such as the last frame on Tuesday below, but the camera did not consistently trip the flash, leading to a number of blank frames. Towards the end of the week, there was some sunnier weather, then, almost unexpectedly, the final day of shoot week coincided with the first decent snowfall in southern England for a few years, which providing a more interesting end to the project.

Monday


Tuesday


Wednesday


Thursday


Friday


Saturday


Sunday


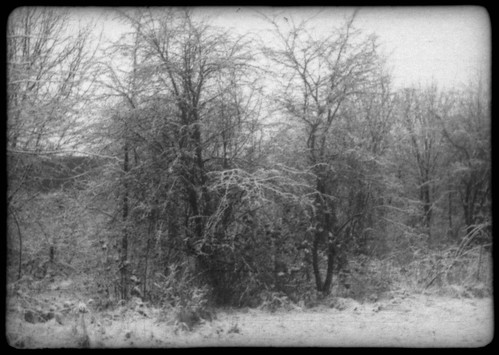
In addition to the roll of 35mm FP4, the shoot week happened to with the December 127 Day on the 7th; having cut down some FP4 Plus to use with my Baby Ikonta, I had a number of 'short ends' of film cut down to 127 width - as the length of 120 film is longer than 127, cutting down a roll of medium format film, one ends up with a short length of film leftover. This was enough for up to six shots in 3x4 negative size. I used a few of these short rolls of FP4 Plus on the final day of the shoot week.

Baby Ikonta with Ilford FP4 Plus
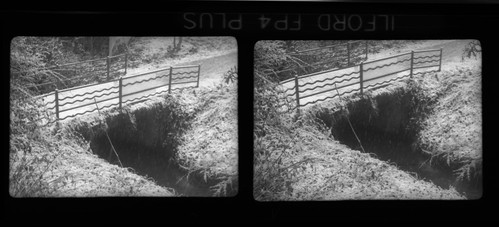
Finally, on the last day of shoot week, I also shot a roll of 16mm film with the Mamiya 16 Automatic, an off-cut from cutting down the width of FP4 from medium format - the first image below I scanned as a diptych to include the film name in the rebate.

Mamiya 16 Automatic with Ilford FP4 Plus