Sunday, 19 June 2016

'116 Day'

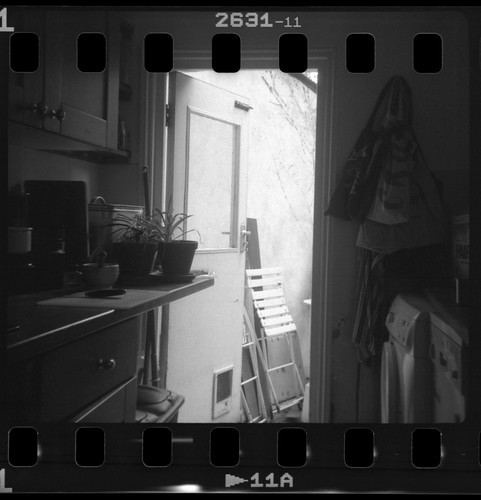
Zeiss Ikon Cocarette with HP5 Plus
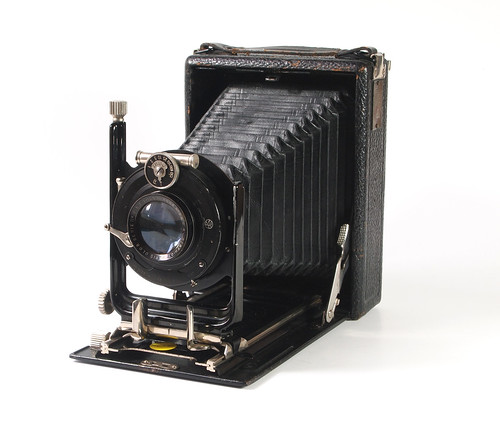
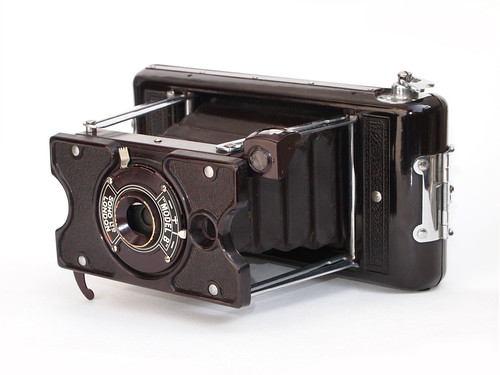
Last weekend, on the day before 126 Day, I shot film in my two 116 format cameras. I'd had a Zeiss Ikon Cocarette for some time with which I'd previously used some 120 film, and had intended to write about, but taking photographs on the date of 11/6 this year was prompted by acquiring a Kodak No.2A Brownie in the format a few weeks ago. 116 was a paper-backed rollfilm, very much like 120, but the film was 70mm wide (compared to 120's 62mm), and the typical frame size for the format is nominally 6.5x11cm. Kodak discontinued manufacture of 116 film in the mid-1980s, but there are many 116 cameras still around, and to use them can be done with essentially three strategies: using original, expired 116 film; using other 70mm film stock in the cameras; or adapting the cameras to use 120 film.

Kodacolor colour negative films
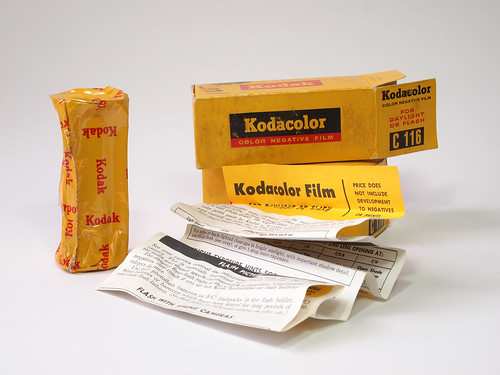
Fortunately, both 116 cameras had the original metal spools in left in the supply side chamber when I bought them, and, online, I found a couple of rolls of Kodacolor negative film to shoot on the day. These dated back to the late 1950s and early 1960s with 'process before' dates of July 1961 and November 1964. Originally 32 ASA, I rated the films using a rough approximation at around 6 to compensate for loss of sensitivity with age. I shot one roll in the Cocarette, handheld, as this had a much faster lens than the Brownie, and, although I mostly shot at f4.5 with 1/50th, these negatives were predictably underexposed.

Zeiss Ikon Cocarette with expired Kodacolor film
With the No.2A Brownie, with a maximum aperture of around f11, and an 'instant' setting around 1/30th, I shot all the frames of the Kodacolor film on the T setting. As the camera does not have tripod mounts, I also had to find flat surfaces to place the camera for these exposures, stopping down the Brownie's meniscus lens to f16 or f22, and using times in seconds up to about a minute. The Kodacolor films were meant for C22 processing, a precursor to the current C41, but I used stand development in R09 One Shot to produce a monochrome negative. The orange mask on the negatives appears darker than current colour negative film, and as a result of the size of the images, I had to resort to photographing the negatives on a light box rather than scanning.

Kodak No.2A Brownie with expired Kodacolor film
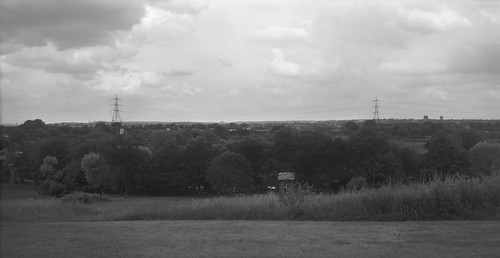
The images from the Brownie camera were much clearer than those from the Cocarette, thanks to having received sufficient exposure to compensate for age; I also had problems with the focus of the Cocarette. As well as the Kodacolor film, I also shot a couple of 120 film with the camera, adapting it to take the smaller spools. With the lens positioned at infinity, the focus is notably soft. I suspect that this is just behind infinity, as the whole image has a softness, not just in the far distance, but this was something I had failed to check before shooting with the camera on the day, although earlier tests had suggested a problem. The image below demonstrates this, though it's only clear when zoomed in. It may also be due to a lack of film flatness, evident at the top and bottom of some of the images on 120 film with a further loss of focus and straight lines beginning to curl.

Zeiss Ikon Cocarette with Agfa Superpan
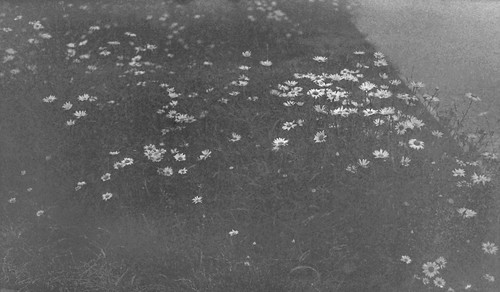
As the Kodacolor shots with the Cocarette were all at wider apertures, this would no doubt have been worse, however, on shots which were not focussed at infinity, the sharpness is much better, even in the underexposed image below of the daisies.

Zeiss Ikon Cocarette with expired Kodacolor
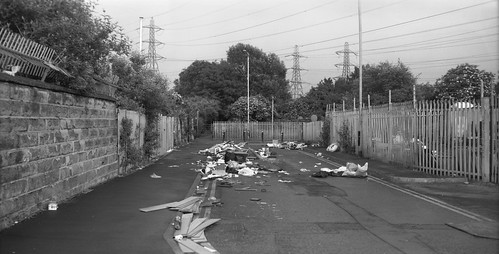
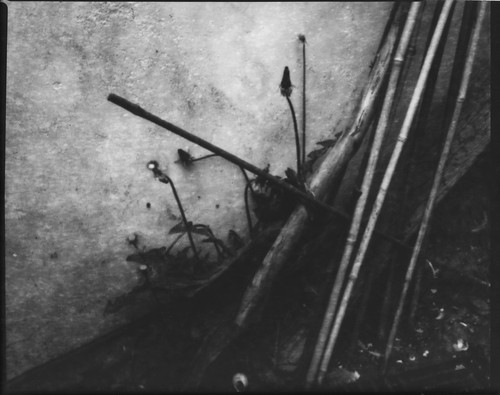
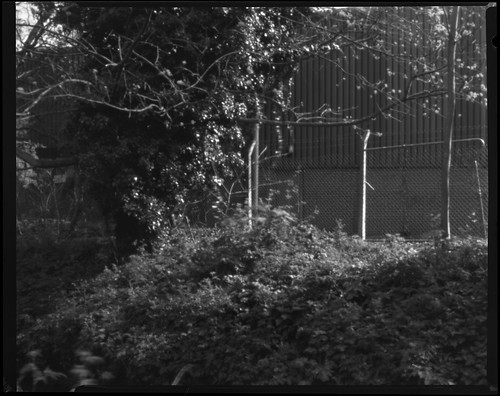
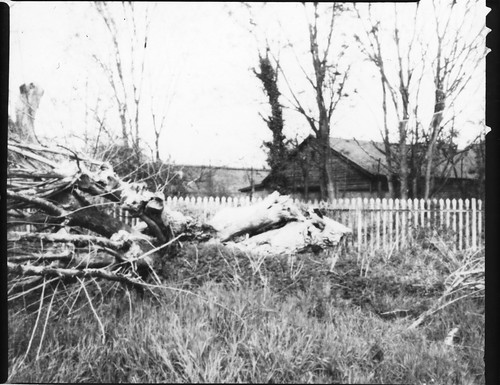
With the 120 film shot in the Cocarette, those images in better focus were those that were again not set at infinity: in the first image below, I estimated the focus to be around 30 feet to the detritus in the middle distance, and used a small enough aperture for depth of field to encompass most of the scene; the following two images were shot with much closer focus, but equally are better than those at infinity.

Zeiss Ikon Cocarette with HP5 Plus
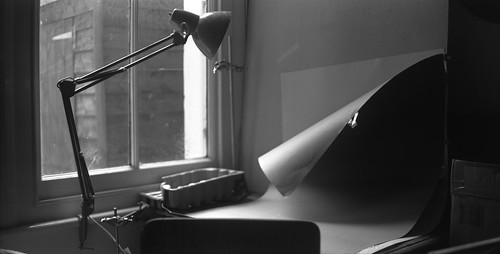
Zeiss Ikon Cocarette with Agfa Superpan
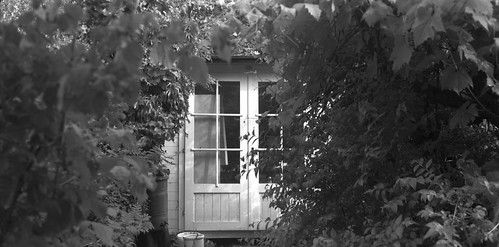
Using 120 film in a 116 camera does make for an attractively proportioned image in landscape orientation; beyond the scope of this post, there's a fair amount on the net from others about how to do this but it's something that deserves a separate post in itself for a future date.

Zeiss Ikon Cocarette with Ilford HP5 Plus


Monday, 13 June 2016

126 Day 2016

126 cartridge reloaded with Agfaphoto APX 400
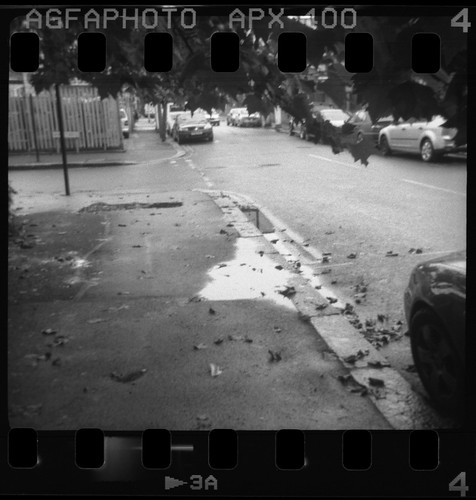
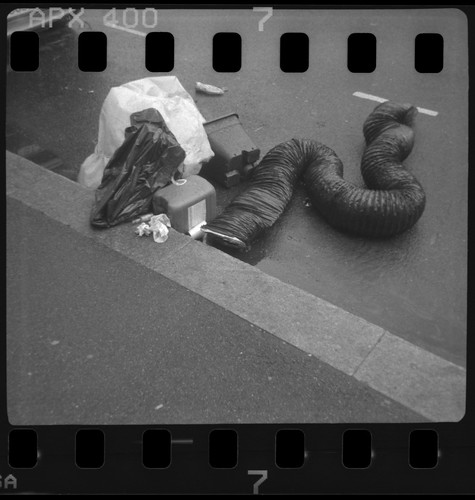
Observing 126 Day yesterday, the opportunities for shooting between showers and rain were limited. I used the Kodak Instamatic 25 camera which was still loaded with a cartridge containing APX 400 from last year. Given that the light was generally poor, the 400 speed film was ideal for the conditions at the time.

126 cartridge reloaded with Agfaphoto APX 400
126 cartridge reloaded with APX 400
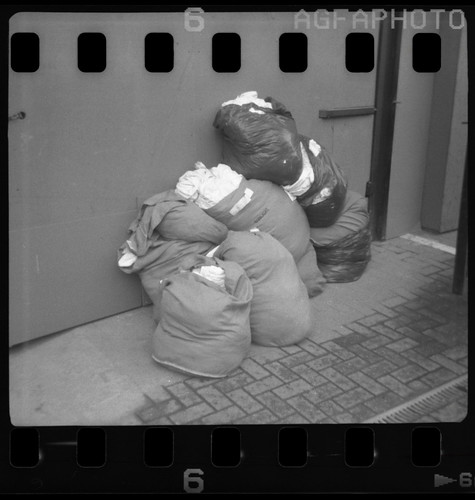
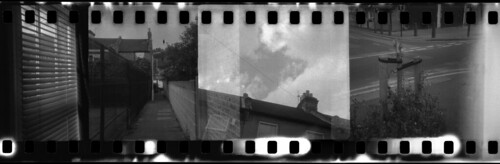
A second cartridge loaded with Foma Retropan 320 was less successful. The Instamatic 25 has generally proved to be quite good at handling 35mm film reloaded into 126 cartridges - I had greater difficulty with the 300 model last year in Stockholm - but after reusing the backing paper in some of the cartridges a number of times, some of the rolls are beginning to deteriorate. The thin strip of paper along the outside edge of the long perforation holes has torn in places, and it may be this, in part, that caused extra resistance when attempting to advance the film. As can be seen from the results below, the overlapping frames are indicative of these problems, and the light leaks are due to taking the cartridge out of the camera mid-roll in order to advance a few frames by hand when it became too stiff to do so in the camera itself. Nevertheless, the design of the cartridge does ensure some protection for the exposed part of the film in this event.

126 cartridge reloaded with Retropan 320

Tuesday, 7 June 2016

Paris flea market finds (2)

Plate camera box and plateholders
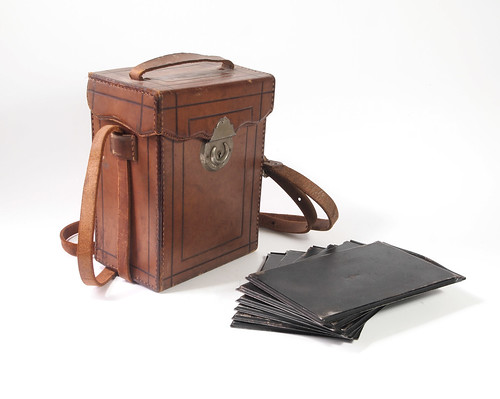
One of my first posts on this blog was describing what I'd found in the Porte de Vanves flea market in Paris five years ago; the weekend before last I revisited this flea market on my way through Paris to the south. There were a few cameras of interest to me, but none without one problem or another. However, I did find a stall which had a couple of plate camera boxes containing plate holders. These were 9x12cm-size plate holders, which, having a few cameras in the size, such as the Ica Trona and the Kodak Recomar, it's always useful to have more. The stallholder wanted €25 for six holders; I did try to barter down to €20, but he wouldn't move on the price. I then asked for the box too, and was told the price was €10 for the box alone, but he gave me the box and plate holders for €30. If my French had been better, I'd have asked him how often he sells glass plate holders, as I don't imagine these items sell which any frequency in the flea market. The plate holders are all stamped AP Paris, some with a craquelure finish on the darkslide; none had film sheathes inside, but one did contain a glass plate negative, shown below.

Found glass plate
A few days later, in Toulouse, a window display of a shop on the Rue Pargaminières drew my attention, with, amongst other secondhand cameras, a Contax IIIa. The shop was Photos Signe Des Temps - the website is limited, but the shop itself had a good stock of film, and film cameras, including a whole cabinet of classic SLRs, and a glass case of all kinds of old cameras. One camera which caught my eye was a folding plate camera with a 165mm lens.

Photo-Plait branded 9x12cm plate camera
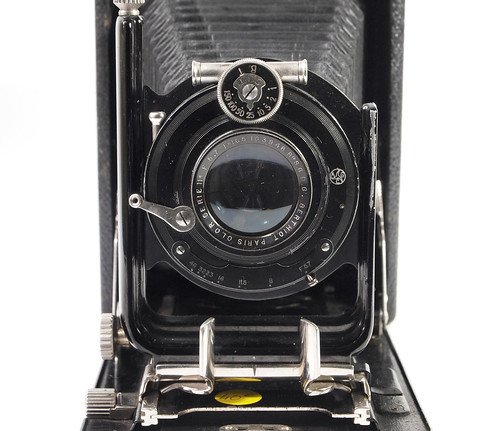
Typically, for a camera of this age, the 165mm focal length would denote a 10x15cm plate size, and at a glance, it looked as though it was larger than a typical 9x12cm camera - which it turned out to be - due to the wooden body. The lens itself was a Berthiot Olor Series IIa, reputedly a Tessar clone, with a maximum aperture of f5.7 in an Ibso shutter - the eight-speed version with 1/150th, rather than the more common seven-speed shutter, up to 1/100th. The shutter gave some indication of the camera's date: according to Camera-Wiki, the Ibso was made by Gauthier between 1908-1926. However, I suspect that the lens and shutter unit may not be original to the body, and not simply due to it being an unusual focal length for the negative format. Some of the features are clearly missing, such as the focus scale, and, at infinity, the 165mm lens is drawn out so much that the metal indicator at the base of the lens standard is beyond where the focus scale would need to be in order to read this. It is also missing a wire frame finder, and a brilliant finder: the latter appears as though it may have been carefully sawn away, with the metal cut into a continuation of the curve around the lens standard. As a typical mid-range folding plate camera, it has rise and cross movements, and rack and pinion focus with double extension bellows - a necessity given the focal length. The bellows were in good condition, and the ground glass intact. The lens was dirty but appeared otherwise good, and, by ear, the shutter fired at all speeds fairly close to each setting.

Berthiot Olor Series IIa lens in Ibso shutter
The camera was priced at €40, and although it did have some missing features, the serendipity of having found the plate holders and camera box in the flea market earlier in the week prompted me to buy it. Needless to say, the plate holders did fit, and the camera itself fitted into the box with the six plate holders too. Even if the lens and shutter were original, there was little on the body to identify the camera, except for a metal plaque with 'Photo-Plait Paris'. This Paris-based dealer would have affixed this small plaque to the cameras that they sold (including, in this discussion thread, a Leica), but it appears that some cameras were manufactured for Photo-Plait and sold under their own name. The distinctive thumb-grips on the two locking levers for the base board were some help in getting close to an identification: French cameras are something of a lacuna for me, but after a detailed trawl through www.collection-appareils.fr, with a different lens, and some removed features, it looks closest to the Photo-Plait Splendor model.

Friday, 13 May 2016

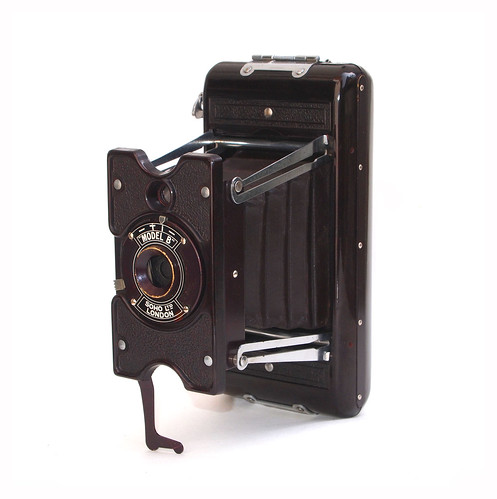
Soho Cadet Model B

Soho Cadet Model B
The materials that cameras have been made from has evolved to suit the technology of image production as it has developed historically. The first cameras were hand built largely from wood, with relatively small volumes of production. With increasing popularity and ease of use, other materials were needed: cardboard for cameras like the cheap Kodak Brownies, metal for smaller, more precise formats which could be cast and machined and produced in greater numbers. Plastic first appeared as a material for camera production in the 1920s (although celluloid was already in use as a base for photographic emulsion itself in the earliest flexible films); notably with the Rajar No. 6, a Bakelite strut-folder made in 1929. Of the early plastics, Bakelite was well suited to camera construction, being easy to mould but hard and rigid once set, and can be drilled and cut. The Rajar No. 6 produced a number of imitators in the 1930s, and, as a material, Bakelite seems to embody Art Deco modernity. However, as other plastics were developed better suited to the task, Bakelite quickly fell out of use for camera bodies, as well as for many other purposes.

The Rajar camera was made by APM which had been formed by the merger of a number of companies largely concerned with the manufacture of film, plates and paper; APM was later split into APEM to continue this line, while cameras were made by Soho. The Soho Cadet Model B clearly owes much of its design to the Rajar No. 6, although it was ultimately derived from the Soho Cadet, a more traditional medium format folding-bed camera from 1930. The Early Photography website dates the Model B to 1931 (other sites give a date of c.1935); the camera itself does not use the name Cadet anywhere, marked simply "Model B" above the lens, but the front and back body sections (as well as some of the metal fixings) appear to be almost the same as those used in the original Cadet: a small amount of alteration may have been made to the Cadet mouldings for the Model B. Instead of the folding bed, the Model B is a strut-folding version with a lens panel not dissimilar to the Rajar No. 6. The back section of the body removes entirely for loading; inside the back is the statement: "Takes any standard film 2 1/4 x 3 1/4 inches or 6x9cms" with the same patent number as that inside the original Cadet (however, Red Bellows describes the Model B as having a different patent number inside). Incidentally, the Rajar camera uses medium format film, but with Rajar's own propriety spool, possibly making the description 'standard film' more apposite than it might at first seem. Frame advance is by red window and there is no pressure plate, which may affect film flatness. Some of the metal parts, such as the two pivoting stands for horizontal and vertical orientation are painted deep maroon to match the Bakelite body and front, the bellows also being maroon too; the remaining metal components are very brightly chromed.

Soho Cadet Model B opened for loading
The Model B has a fixed-focus lens unlike the original Cadet, which could be focussed by the position of the lens panel on the rails of the folding bed. The Cadet was also provided with a (limited) range of shutter and lens options; like the basic Cadet, the Model B has a meniscus lens in an everset shutter with 'I' for Instant and 'B' for Bulb: in bulb mode the shutter fires with the shutter lever tripped in both directions. Although not measured, I estimate that the shutter fires at about 1/40th - and it can sometimes be a little sluggish when the shutter lever is pressed in the down direction: it seems that gravity works against it when held in certain ways. From my rough measurements, the camera has a focal length of around 100mm, making the aperture about f14.

Soho Cadet Model B with vertical stand
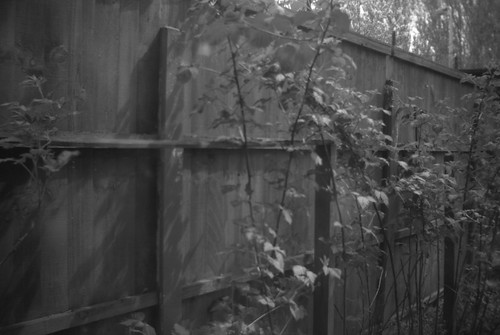
My example of the Model B came in a job lot of cameras, and may have been the least interesting of them, but I did want to try it with film. I shot a couple of rolls of Fomapan 200, possibly a stop or two too fast for conditions with bright sunlight, the latitude of the film coped with this well enough. The camera uses a brilliant finder, but one of the smallest I've used, making it difficult to compose a shot. Held vertically, the finder is located directly above the lens behind the lens board, but pivots out through 90 degrees for horizontal shots. The results show all the shortcomings one might expect from a simple meniscus lens: vignetting, astigmatism, barrel distortion, and coma - as well as what appears to be some internal reflection.

Soho Cadet Model B with Fomapan 200
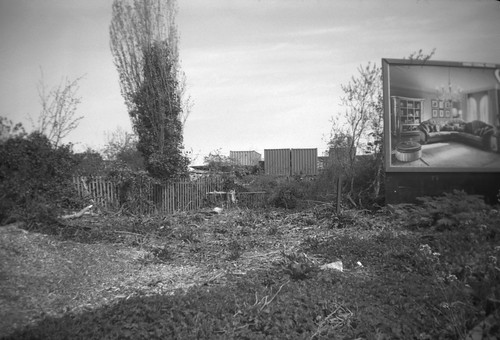
Interestingly, the lens' curvature of field aberration means that at the very edges of the frame near objects are more in focus: in the image above, the oblique fence recedes away from the lens into focus at the right - but at far left is also in focus. This effect can also seen in the image below in the bottom right. The Soho Cadet Model B is essentially a snapshot camera, no more sophisticated than contemporary box cameras and indeed with less user controls than many. The shortcomings of the lens are a little compensated for by the large image size: this was probably perfectly adequate for contact prints made from the negatives in the 1930s. Today, the camera is probably of more interest of collectors of Bakelite than the film photographer.

Soho Cadet Model B with Fomapan 200
Sources/further reading
Soho Cadet on Early Photography
Soho Cadet on Red Bellows
Soho on Camera Wiki
Marriotworld's The Bakelite Story

Saturday, 30 April 2016

Worldwide Pinhole Photography Day 2016

Harman Direct Positive Paper
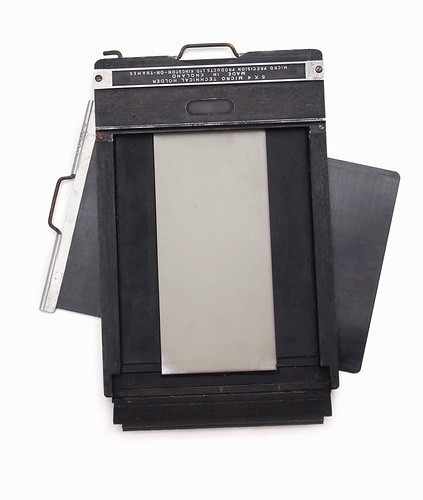
Last weekend, for Worldwide Pinhole Photography Day, I shot exclusively large format film and paper. Using a pinhole lensboard with my MPP Micro-Technical camera provided more flexibility than the cardboard cameras I'd made two years ago to shoot glass plates, four cameras constructed in two different sizes. In order to shoot more than just four pinhole photographs, I had taken boxes of plates and a changing bag with me to reload the cameras; the limit to using large format was how many 4x5 film holders I had. I made a pinhole using a piece of metal from a drinks can and rotating a needle to pierce it, fitting it behind a home-made lensboard. Measuring the hole by scanning it at maximum resolution gave a measurement of 0.2mm, although as I could only measure this down to one decimal place, it provided a margin of error to all other calculations. At a focal length of 150mm, this provides an aperture of f750. I shot some test photographs with this pinhole to find the resulting images less sharp than anticipated, realising afterwards this was due to the diffraction effect provided by small apertures.

MPP Micro-Technical Mk VI with pinhole lensboard
The website Mr Pinhole has a useful table to help calculate an optimum pinhole size for a given focal length. At 150mm this was given as 0.5mm. Carefully enlarging the pinhole and measuring it a few steps at a time, produced a pinhole of 0.6mm. At 150mm, this would be f250; extending the bellows to 180mm would mean f300, both convenient round numbers. The lensboard could be placed anywhere on the triple extension of the MPP, but short focal lengths would mean a loss of detail due to too wide an f-stop (as well as showing the folding bed in the frame), and long focal lengths a loss of resolution due to diffraction again, as well as increasingly long exposure times. Ideally, one could make a number of pinholes with optimum sizes for a number of focal lengths, but I used one, mostly at a focal length of 150mm, with only a couple of shots at 180mm; it was easier to conceptualise each picture at a 'standard' angle of view as the ground glass couldn't be used.

Ilford FP4 with handwritten date '11/4/78', shot with 180mm focal length
Initially, I had considered only using Harman Direct Positive Paper, but after testing the paper the day before with rather mixed results, I decided to shoot film as well, using the FP4 and Plus-X from the 1970s that I'd shot on the recent Expired Film Day (I did also shoot a handful of glass plates but found these harder than the Direct Positive Paper to get a decent image with the pinhole I had made). The Direct Positive Paper I shot was over five years old, and the developer I used, PQ Universal, was probably as old, if not older, an unopened bottle having been given to me some years ago. I developed the paper in a tank like film rather than in trays, so I wasn't able to inspect the process, but even with developing times around ten minutes, the darkest tones never quite got dark enough. In addition, getting the exposure right with Direct Positive Paper is difficult enough given its high contrast, compounded by rapidly changing lighting conditions in the morning, with broken clouds moving quickly across the sky, as seen in this shot on FP4 with an eight second exposure.

Harman Direct Positive Paper
With relatively long exposures at an aperture around f250 and shooting the paper with an exposure index of 3, a number of shots were complicated by the light changing during the exposure itself: with exposure times in full sun calculated at around 90 seconds, I had a more than one shot when part-way through an exposure, the sun would disappear behind a cloud, and I had to try to re-calculate how much to extend the exposure with the light levels dropping three or four stops, as in the image above, and mostly erred on overexposure, with which the paper very quickly loses all highlight detail.

Harman Direct Positive Paper
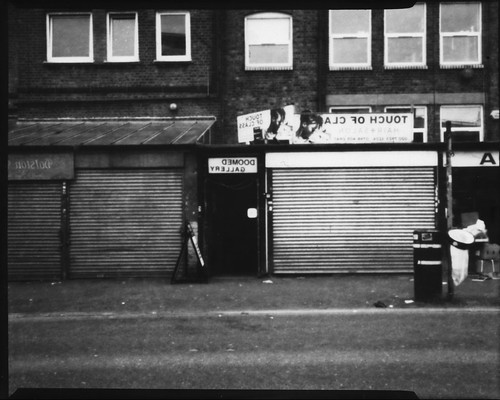
Later in the day, conditions became overcast, which made using the Direct Positive Paper easier, not only with more consistent lighting, but also being inherently lower contrast. The images above, and at the top of this post, were taken in such lighting. The Direct Positive Paper does give a reversed image, which might mean avoiding shots with lettering being prominent; I shot the exterior of Doomed Gallery as I had an exhibit in the London Alternative Photography Collective exhibition over the weekend as part of the London Pinhole Festival - glass plate positives of the negatives shot on Worldwide Pinhole Photography Day two years ago. I also made another exposure on FP4 film as a comparison. As well as exposures in seconds rather than minutes, using film, even out of date film rated 64 and 25 for the FP4 and Plus-X respectively, both film's latitude and reciprocity failure helped achieve more consistent results.

Ilford FP4 with handwritten date on the box '11/4/78'
Kodak Plus-X, develop date before July 1972
See the whole set of pinhole photographs here.

Tuesday, 26 April 2016

Other glass plates

Ilford R.40 Rapid Process Panchromatic glass plate
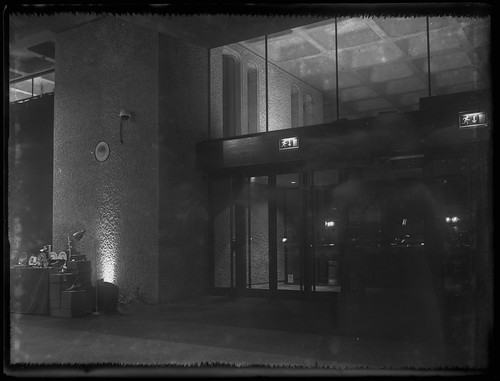
As well as the Selochrome stereo plates written about in my last post, I have also shot a number of different plates for night photography in recent months. I've used the last of the large format Selochrome plates written about in 2014 with some good results. Also mentioned in that blogpost were the Wratten & Wainwright Metallographic plates which were heavily fogged around the edges, so much so that I had all but written off using the plates. However, as I'd had a couple sitting in a plateholder for months, I decided to expose one on the same night as exposing this image on one of the Selochrome plates, and giving a moderately long exposure provided an image far less obscured by the fogging around the edges than I'd previously experienced.
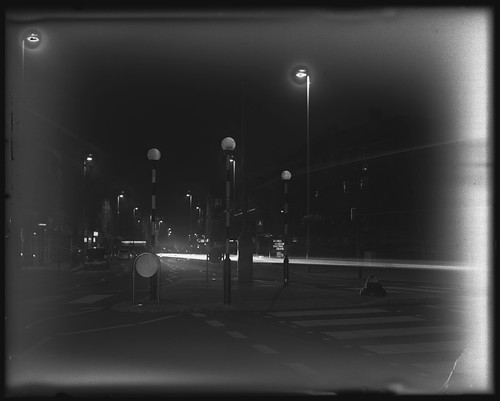
Kodak Wratten & Wainwright Metallographic plate
As the Wratten & Wainwright box was sealed when I got it, I don't have a good theory as to why the plates shot recently should be less fogged than the others, except perhaps the fact that these plates would be from the central portion of the box, with a number of plates stacked on top (and below) the two illustrated here - although the edges of the plates themselves remain in the same relation to the edges of the box as those at the top or bottom of the stack.
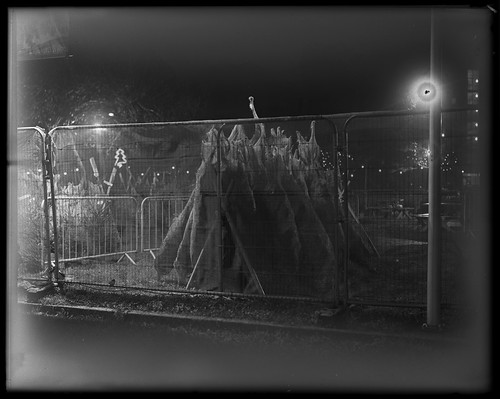
Wratten & Wainwright glass plate
Incidentally both plates shown here exhibit true solarisation - the brightest highlights in the streetlamps have turned black. The term solarisation (when not describing a digital filter) is usually applied to what is more properly known as the Sabatier effect: the exposure in these highlight areas is such that the negative begins to lose density beyond the shoulder section of the characteristic curve (this phenomenon gets a brief mention in Ansel Adams' The Negative when describing his photograph The "Black Sun", Owens Valley, California). There's still a fair amount of fogging, and exposing for longer to combat this has resulted in what appears to be grain seen in the highlight areas, but this is scanner noise caused by the high density.

Late last year, I found two boxes of 4x5 inch plates, both Ilford R.40 Rapid Process Panchromatic - one box had been previously opened, but then resealed with black tape, and no plates had been used from it. I opened the other box for the information leaflet inside, which provided a date - August 1959.
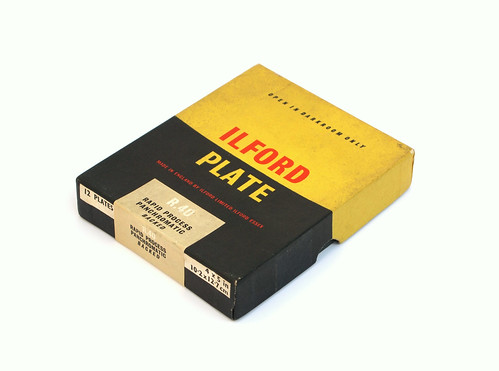
Ilford R.40 Rapid Process Panchromatic glass plates
As described in the Ilford Manual of Photography (1946), Rapid Process Panchromatic plates were "For copying coloured originals. A plate of high contrast. The standard plate for colour separation screen negatives for photo-lithography." These were fifth highest in the list of plates by contrast in the Manual, and, as a process plate, it isn't given a speed: these plates were not intended for pictorial photography. The word Rapid in the name refers I think more to the speed of development rather than sensitivity - the information leaflet with the plates gives a development time of 2 1/2 minutes in ID13. The plates were introduced in 1918, and, according to Silver By The Ton, were rated 8 ASA in the post-1960 standard: other plates with the term Rapid in the name around the same time were rated 20 ASA.
Ilford R.40 Rapid Process Panchromatic test plate
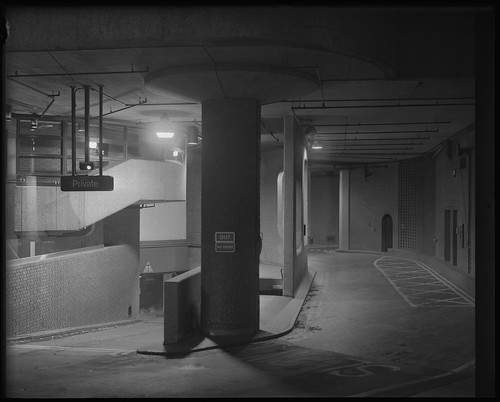
For a test exposure, I rated one plate with an exposure index of 10 as a reasonable starting point, and with three successive exposures by progressively withdrawing the dark slide, gave the plate effective exposure indices of 10, 5, and 2.5 from right to left in the shot above. This was stand developed in RO9 One Shot, diluted 1+150 (to reduce contrast) for one hour. The results were very encouraging. The central section, with an effective rating of 5, looked best from the test plate. However, when shooting them at night, the first set of plates did appear to be overexposed, not helped by using a developer dilution of 1+100, rather than 1+150. The highlights in these negatives are very dense, and this again added noise when scanning in these areas, much like the Wratten & Wainwright plates: the image at the top of this post is one of the plates shot and developed in this fashion. I reduced my exposure times for the next shots by around one stop, and developed these plates at 1+150, as below.
Ilford R.40 Rapid Process Panchromatic plate
The Rapid Process Panchromatic plates are amongst the best I've used, in terms of the emulsion showing very little age-related deterioration; when coupled with getting the exposure right and developing to reduce the inherent contrast, the plates produce excellent results.
Ilford R.40 Rapid Process Panchromatic plate
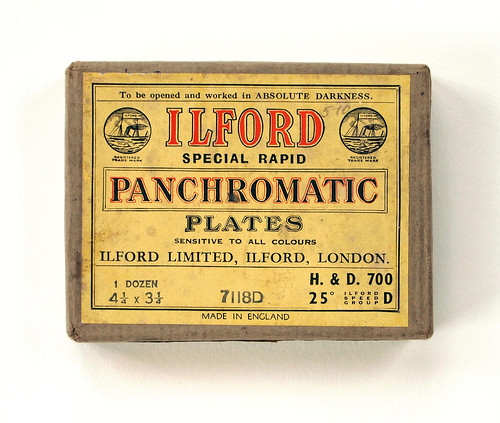
Special Rapid Panchromatic plates
I've also recently used some quarter-plate size Special Rapid Panchromatic plates. First produced in 1919 at 32 ASA, these are "Fine grain. Fairly high contrast. General purpose plate. Widely used in scientific; and in the photo-mechanical trade for block making, offset work and photogravure." These are just above the middle of the contrast range of Ilford plates at the time. A leaflet inside the box was dated to 1946.
Special Rapid Panchromatic plate test
Rather than shooting these plates for the ongoing night photography project, I used most of the plates from the box on the LAPC photo walk last month; these were just fast enough to use handheld, rated around 10. The test plate above was also rated 10: with three successive exposures, the middle section at an exposure index of 5 provides a fuller negative. The plate below was one that I did shoot at night with a twenty-minute exposure which captured people queuing at a bar better than expected, if still very faint.
Special Rapid Panchromatic plate
Some time around 1950 Ilford's plate names gained prefixes with a letter and numerals: the Special Rapid Panchromatic above were later given the prefix R.20 as seen on this leaflet. I've wondered for some time about how these were constructed, what was the logic to them. The Hypersensitive Panchromatic and Fine Grain Panchromatic emulsions, being new just before the second world war, were not abbreviated in same way as other emulsions later: these were already abbreviated to HP and FP while the films went through their numerical iterations. Most other plates were given the alphabetical prefixes R, G and N (although not all - Selochrome didn't gain a prefix, but this was more of a brand name than a descriptor). Looking at the spectral sensitivity of the plates, as all panchromatic plates are given an R, it would appear that the letter are R denotes red sensitive; G plates are 'highly orthochromatic' with sensitivity extended into the yellow part of the spectrum that perhaps G is for green sensitive; and N for 'ordinary' plates would possibly mean not colour sensitive. I haven't found a logic to the numbers. One wonders if photographers stopped calling Soft Gradation Panchromatic plates that, and started referring to them simply as R.10 plates?

References
The Negative, Ansel Adams, 1981
Silver By The Ton, RJ Hercock and GA Jones,1979
The Ilford Manual of Photography, James Mitchell (ed.), 1946
Friday, 15 April 2016
Ilford Selochrome stereo plates

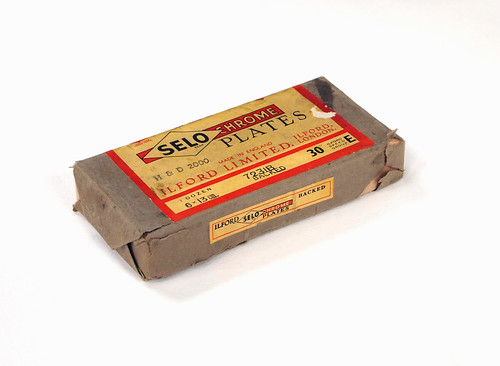
Ilford Selochrome Plates
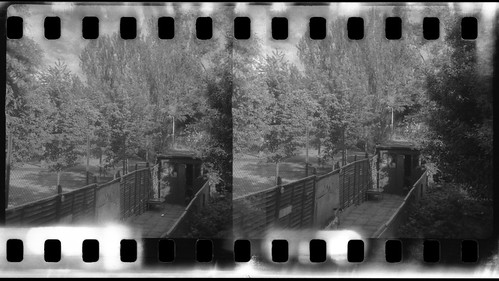
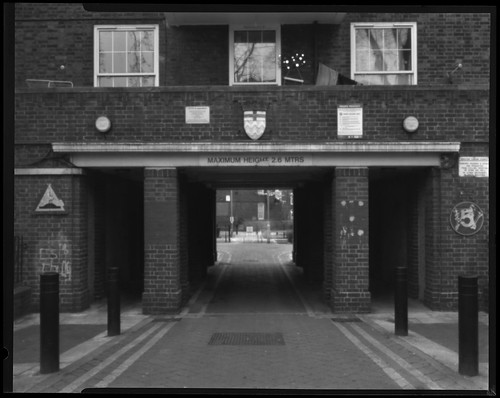
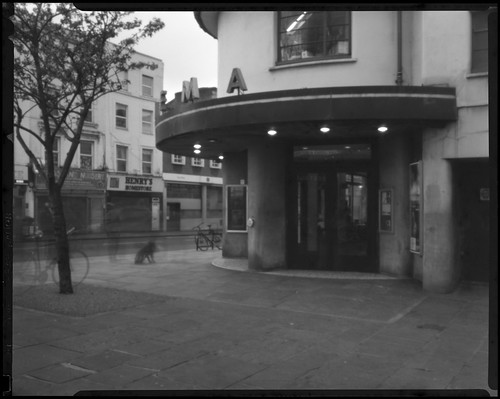
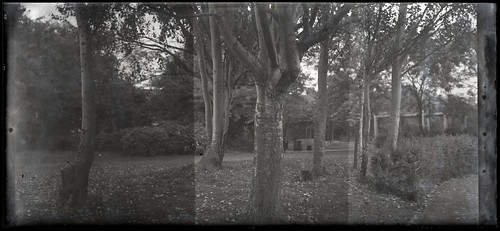
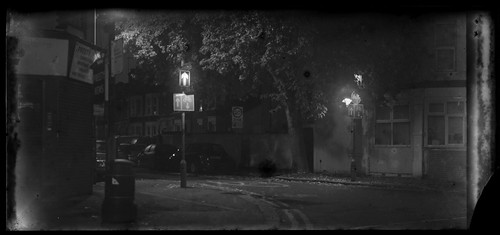
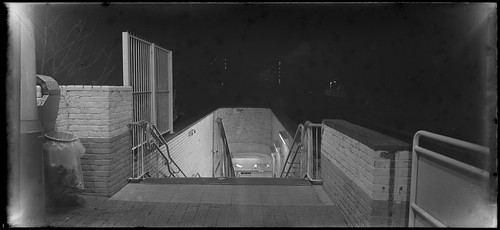
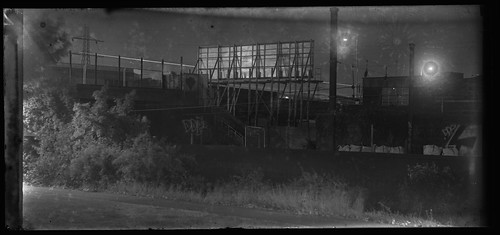
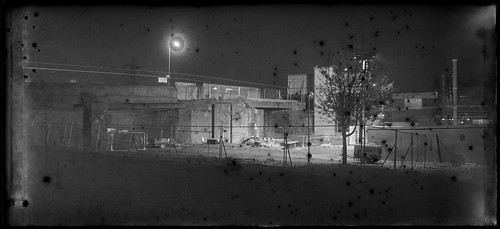
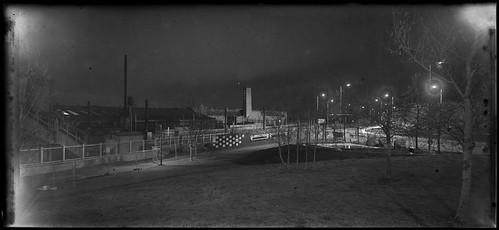
Although my ongoing project of shooting old, previously unexposed photographic glass plates at night had become more sporadic in recent months (and I had been shooting plates in other situations such as the LAPC Photo Walk), a period of unseasonably warm nights last Autumn into December encouraged me to shoot more. Of the plates shot recently, a box of previously unopened Selochrome 6x13cm plates provided some interesting results due in part to the unusual format: the 6x13cm plate size is a stereo format; the box is the same size as the HP3 plates written about in the post 'Some odd sized glass plates', but those plates had been cut down by hand to a quarterplate length. The outer wrapping of the plates was torn and tatty, and the outer label itself isn't designed for the box: it's the same size as those used on 4x5 inch boxes, such that the label wraps around the box. The inner label under the wrapping is dated to February 1948.

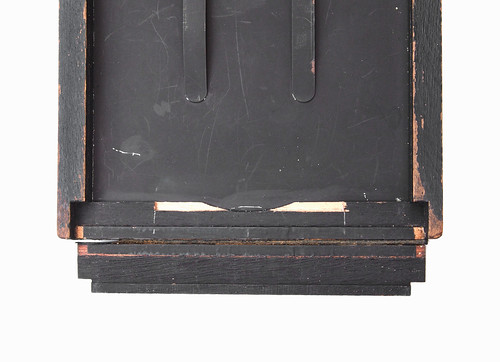
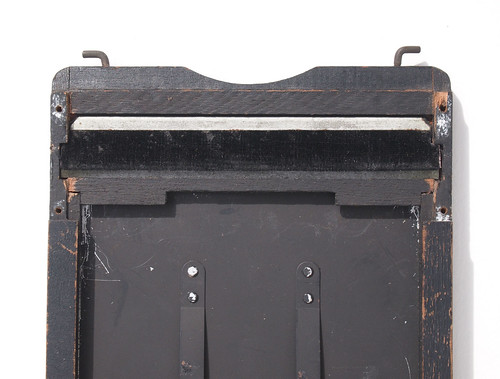
As the plates are just a few millimetres too long to fit into 4x5 inch plates holders (5 inches being 127mm, although actual plate sizes vary a small amount), I converted two MPP holders which needed reconditioning. I made a cut in the bottom edge of the holders, which, being made from wood, was fairly easy to do, and removed enough material to sit the glass plates flush once loaded. These alterations were then painted matt black.

Detail of cut in bottom of holder
Interestingly, when removing the metal covers on the plateholders to access the felt light traps, I discovered that they had a similar slot already cut into the top edge of the holder, normally invisible. This was almost exactly the right size for the stereo plates.

Detail of slot in top of holder
I also found that some printed matter had been used to shim the metal covers to the right clearance for the darkslides, intriguing evidence of the hand-made nature of these wooden plateholders. To make sure the stereo plates sat securely in place, I also made card inserts in the manner detailed in my post on 'Glass plate adaptors'; I sacrificed one of the plates from the box as a template to ensure a good fit with both the alterations to the holders and the adaptors I'd made.

Completed conversion with plate loaded
Having used some 4x5 Selochrome plates before, of a similar age, I was hopeful that the box would contain usable plates; I shot a test plate with a starting exposure index of 50, and with three successive exposures on the plate, giving effective exposure indices of 50, 25, 12 from left to right,

Ilford Selochrome stereo plate test
The plates do show a number of features of age-related deterioration (aside from a broken corner) to the emulsion, although this was not consistent across the plates: some have a large amount of pinholing, while a couple have what appears to be 'star-burst' shapes of the emulsion lifting around a central point of stress. Most of the plates have strips along the edges where there's been a reaction to the cardboard runners holding the plates in pairs, although this is within the width of the rebate from the plateholders.

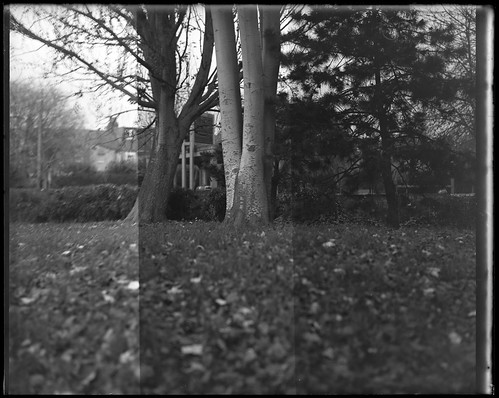
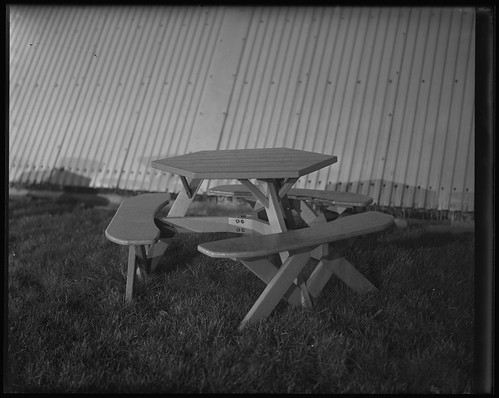
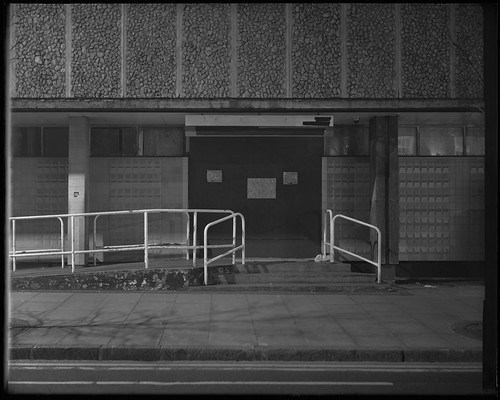
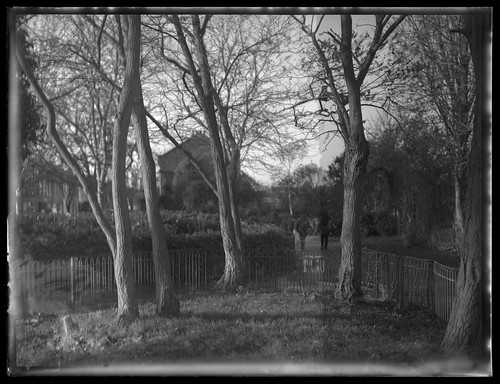
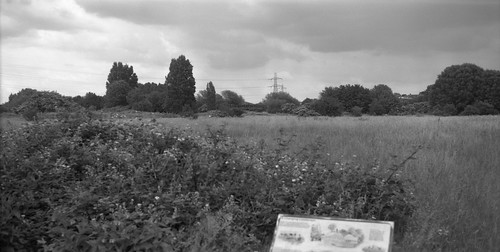
Ilford Selochrome plate shot with 16.5cm Tessar
Ilford Selochrome plate shot with 150mm Xenar
Ilford Selochrome plate shot with 90mm Angulon
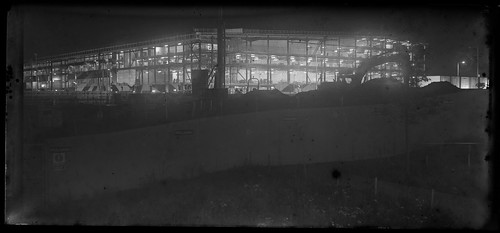
Given that the stereo plate dimensions appear somewhat panoramic, I shot some of the plates with a 90mm Angulon lens - a lens I've hardly ever used for large format - which seemed more appropriate with the format (some stereo plate cameras, such as the Jumelle Stéreo-panoramique were designed to shoot both stereo pairs or single, panoramic images). I also used these plates to shoot three photographs of the rebuilding of a local station which has been disused for over thirty years.

Ilford Selochrome plate shot with 16.5cm Tessar
Ilford Selochrome plate shot with 90mm Angulon