 |
| Ilford 8.2cm Special Lantern Plate, 10 minute exposure |
Two days ago, 27th April, was '
Worldwide Pinhole Photography Day'. In the past this particular day in the photographer's calendar has been one that I haven't observed, and it's been an odd lacuna that, in all the formats and techniques I've used, I've not made a pinhole camera before. This seemed a good occasion to fill that gap. After my recent work with vintage glass plates, I naturally wanted to use them for the pinhole day. In considering what form the cameras would take, I decided to make them square, and to use some
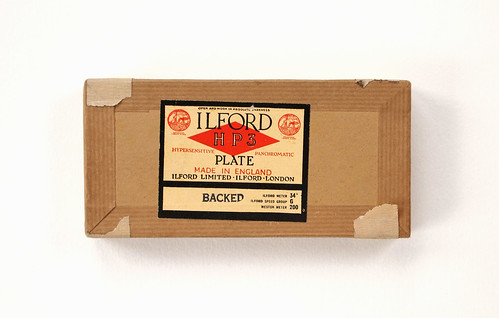
lantern plates I had which I hadn't previously shot. Prior to, and then concurrent with transparency film, lantern plates were used to make glass slides for projection and typically would be made by contact or with an enlarger. Before the pinhole day, I tested two types of 8.2cm square lantern plates for exposure,
Ilford Special Lantern plates and Kodak L5 Warm Tone Lantern plates. I shot these with the MPP Micro-Technical camera in adaptors made as detailed in
a previous post, using a starting exposure index of 5, thinking that the lantern plates might have an emulsion sensitivity similar to photographic paper, and took three successive exposures by progressively withdrawing the darkslide, effectively giving exposures (from right to left) at 5, 2.5, 1.2 to seen how much sensitivity the plates may have lost with age. The Ilford plate box had a leaflet inside dated to November 1965.
 |
| Ilford Special Lantern plate test, scan from contact print on Kentmere VC Select paper |
The Ilford plates provided better results, with less fog and less silvering than the
Kodak L5 plates. Ilford's were the fastest lantern plates they manufactured ('Gaslight' and 'Contact' plates were also available), an important factor for the choice of these plates with pinhole cameras, and the Special Lantern plates were also made in three different grades of contrast: 'Soft' 'Normal' and 'Contrasty'; when shooting these as negatives, the 'Soft' contrast grade is still high, which reinforces the suggestion that the lantern plate emulsions were similar to that of photographic paper, which is usually high in contrast when used as a paper negative. The plates for the test were
stand developed in R09 One Shot at a dilution of 1:100 for one hour.
I made pinhole cameras in two different sizes, to fit the 8.2cm plates tested, and 2-inch square plates, of the same type. I made the cameras from stiff card and constructed two cameras of each size; when working with glass plates
it makes sense to work in pairs, as this is how the plates are packed. The pinholes were made from small squares of metal
from aluminium cans, with a pin, not pushed all the way down the
shaft, but merely rotating the tip to create as smooth and round a hole as possible. I measured the pinholes by scanning these at high resolution, which came out at either 0.3 or 0.2mm diameter. This measurement could then be used to calculate the f-stop of the pinholes (the f-stop number being focal length divided by aperture diameter). For both large and small cameras I made them with a focal length similar to the width of the plates, which is effectively wide angle, the focal length being less than the diagonal measurement of the image format. On the small cameras, a pinhole diameter of 0.2mm equated to f255; 0.3mm was f170. On the larger cameras these diameters gave f-stops of f400 and f274 respectively. As I wasn't able to measure the pinholes more accurately (to 1/100th of a millimetre for example), these figures were approximations, but having tested the sensitivity of the plates, I had enough information to roughly calculate the exposure times needed. Ideally I would have tested the cameras themselves before the day to see any potential shortcomings, of which there were a few, but I was still making them on the morning of the 27th.
 |
| Pinhole Camera for 2-inch plates |
To shoot the cameras, I decided not to take a tripod, which meant having to find spots where the cameras could be placed for the long exposures needed, and, intending to shoot more than just four plates, I also took a dark bag, boxes of unexposed plates, and empty boxes to place the plates once shot. I started at Marsh Lane Fields in Leyton, where there was a convenient picnic table, on which I could set up a couple of the cameras for exposures of 15 and 6 minutes (and sit and read the paper while the shutters were open).
 |
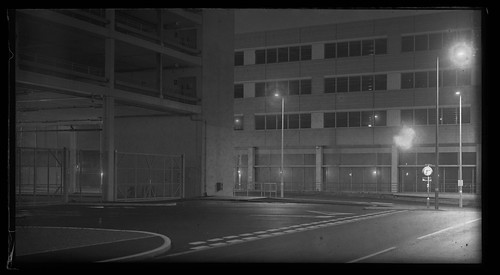
| Ilford 8.2cm Special Lantern Plate, 15 minute exposure |
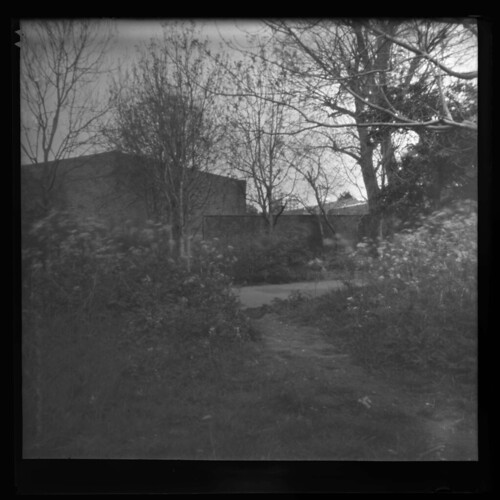
I then walked on towards the Queen Elizabeth Olympic Park where I shot a couple more large plates on a verge sandwiched between Ruckholt Road, a slip road for the A12, the A12 flyover itself and the River Lea. This used to be one of those undesignated left-over spaces (which I have
photographed before), but has recently been landscaped to provide a path along the bank into the Olympic Park. There was a sluice gate there which provided a platform to place the pinhole cameras for some more exposures. I also changed plates with the dark bag while there.
 |
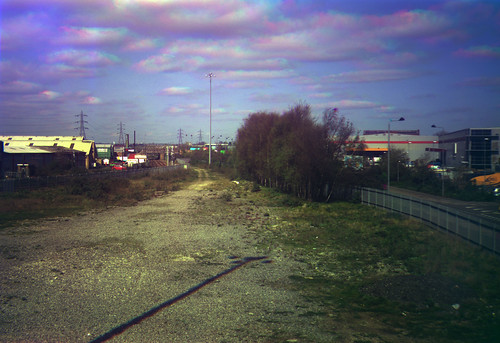
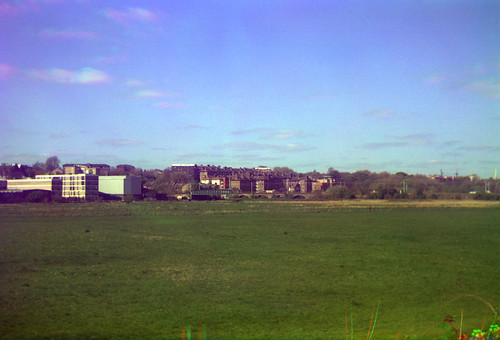
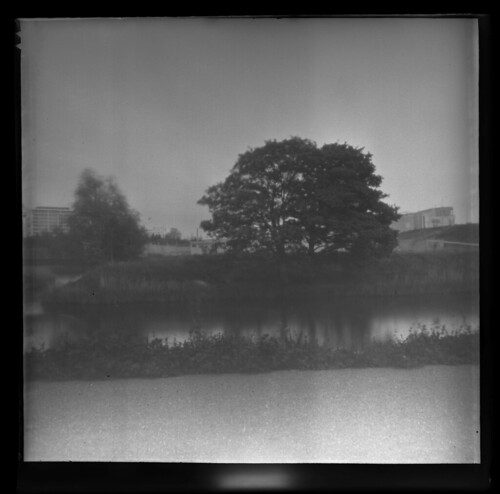
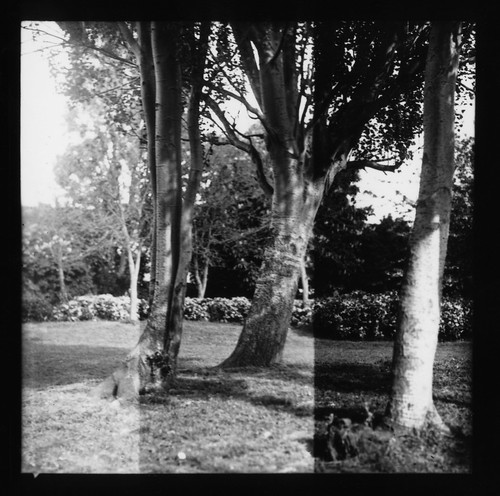
| Ilford 8.2cm Special Lantern Plate, 10 minute exposure |
Entering the Olympic Park, and following the Lea, I found a bench on the other side to sit and position one of the cameras to take the photograph which appears at the top of this post. While I was sitting there reading the paper, a golf buggy drew up with two security guards. I'd have liked to have recorded the encounter which followed, but I shall just describe it as well as I can recall. They said that I had been picked up on the security cameras; I can't remember exactly whether they said I'd been seen taking pictures near the children's playground, or if they just asked
had I been taking pictures there. I don't know whether they were simply mistaken, or if this was an invention used to justify questioning me, but the insinuation was made. I hadn't been near the playground, and didn't know where it was at the time (I looked this up when I returned home); I may have been
relatively near to it when crossing from one side of the Lea, by the Velopark, to the other, but I certainly wasn't taking any photographs at the time. It didn't seem worth explaining that the pinhole exposures of ten minutes or more would be of no use to what they seemed to be implying. They appeared to accept my denial of taking photos at the playground, but had more questions. I had been seen
writing things down, which I had, so I showed them my notebook on which I'd written entries such as "3.54 No. 1 Large - River Lea/10 minutes". They then wanted to see the cameras. I only had the one out that I was taking the picture with, so I curtailed the exposure, which was going to be longer, and they also asked if I was leaving these around the park. I explained I only had four cameras and was keeping them with me. The security guards then asked what I was taking the pictures
for, at which point I couldn't help entering a philosohical frame of mind (for some reason I declined to inform them that it was 'Worldwide Pinhole Photography Day'). I resisted the temptation to say "to see what things look like when they're photographed," circular but honest reasoning. I was asked if the photographs were going to be shared anywhere, and I said 'probably' on Flickr. Then they said I'd also been seen taking photographs on a phone or digital camera. It was only later that I realised what had been seen on the security cameras and not understood was my use of a handheld lightmeter; however I did have my
Kiev 30-M in my pocket, and although I hadn't used it inside the park, I did tell them I had a film camera with me. They asked if they could see the photographs. I had to disappoint them by explaining they couldn't see the photographs as these would need to be developed. At this point I could sense that conversation wasn't providing any more avenues for the security guards to go down, and after some small talk about the transformation of the area, during which I kept my views of the Olympics to myself, one of the guards said "I don't have any problems with you taking photographs in the park". They had been polite throughout, and, to be generous, I can see the need for suspicious behaviour or
behaviour that is not understood to be investigated. However, the statement or question about the children's playground was insidious and unnecessary. Having satisfied the security guards' questioning, I left the Olympic Park by the nearest exit.
 |
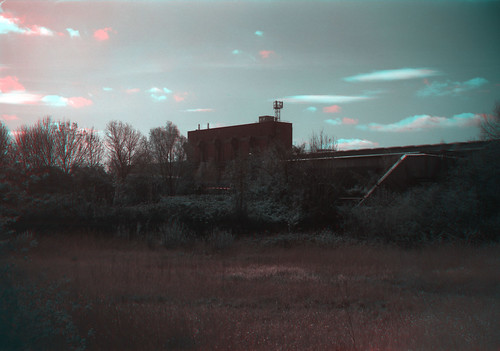
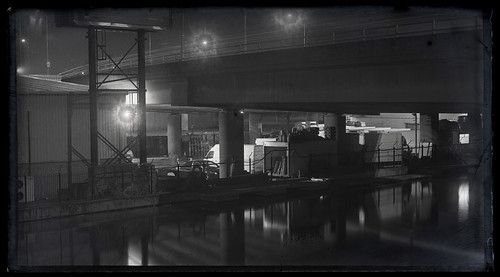
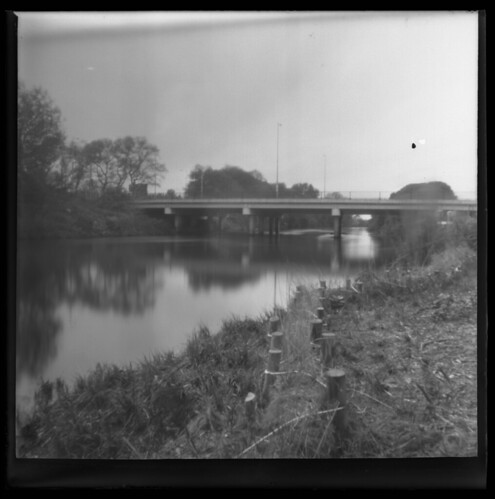
| Ilford 8.2cm Special Lantern Plate, 20 minute exposure |
I took a few more shots returning along the canal, such as the image above, then finally some shots at home as the light was failing, with exposures well over an hour to compensate.
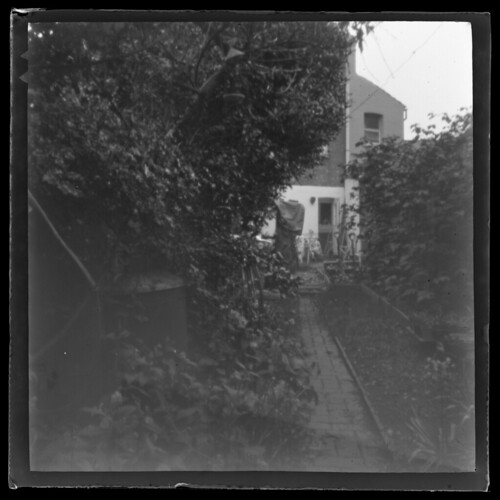 |
| Ilford 2-inch Special Lantern Plate, 1 hour 20 minute exposure |
I stand developed the 8.2cm plates for an hour, using a higher dilution of R09 One Shot, 1:150, to reduce contrast a little more than the earlier tests. Meanwhile, the smaller plates were tray developed by inspection in R09 One Shot 1:120: one of the benefits of using the lantern plates is that they are
orthochromatic so can be handled under a red safelight. All but one of the plates used were Special Lantern plates, but I did also shoot a 2-inch
Contact Lantern plate, which proved both slower and higher in contrast than the Special Lantern plates: this was tray developed for a considerably longer time than the other plates, but there wasn't sufficient exposure to provide any shadow detail. All the negatives had come out, but there had been some problems, particularly with the small cameras, some of the plates not sitting properly in the slots I'd made to hold them inside the cameras, and some slight light leaks, problems which I might have been able to elimate had I tested the cameras beforehand, but I wasn't disappointed with my first pinhole photographs.
See the whole set of pinhole photographs here.
Worldwide Pinhole Photography Day website.